When you’ve built thousands of websites every day, you start to notice some things. And we’ve seen over and over again that even 10 minutes of minor adjustments can make a big difference in how well your website performs – and those 10 minutes can be the difference between good and great, especially on the Plus Plan.
That’s why we’ve put this guide together: to help you turn your page into something that really captures what makes your business special. Don’t forget – you can edit on your computer, your phone, or a tablet, whatever’s easiest for you.
As a Premium customer, you can also sign up for a 30-minute onboarding video conference with one of our team members through your Hub, where we will go through your website with you and help you with many of the things listed in this article.
But, even if you decide the call isn’t something you’re interested in, you can follow this guide to help maximise your UENI page and amplify your business.
First: Double-Check Your Basic Information
Table of Contents
First thing’s first: let’s make sure all the key information about your business is correct on the page. Making sure search engines and customers are seeing the correct details about your business is essential to your business’s success.
When you signed up with us, you filled out the information that we used to create your website. Now it’s time to double-check and make sure that all of your information is properly displayed on your page. Having the correct information on your page, as well as good photos and descriptions, can be the difference between booking a customer and not.
So, what information should you double-check?
Your Header
Opening Hours
Is Your Address Correct?
Is Your Online Presence Represented?
Use the Promotions Tool!
Your Header
Your website header is the first thing customers see when they land on your site, so it’s important to give it a good look once your UENI website is live. Remember, first impressions count!
Make sure that the header image is to your liking, and make sure that the business name, your logo, and title are correct. You’ll also want to go over any contact information (like your WhatsApp number or email).
Take a moment to look over this part of your page and make sure all of it is to your liking – you can edit all of these elements on the Sections > Header page in the Editor.
Opening Hours
No matter what sort of business you run, it’s important to make sure that your opening hours accurately reflect when your shop or company is open – yes, even if you’re an online shop. This info is displayed on your business page and is also displayed on your Google My Business account, which helps local people find your business.
The opening hours are also used to power our Booking Tool, so if you have no opening hours displayed your customers will not be able to book time with you.
How do I check and change my Opening Hours?
If you wish to edit the opening hours displayed on your site, log into your Business Hub and click on My Website (this will take you to your website editor).
Click Sections and scroll down to Opening Hours.
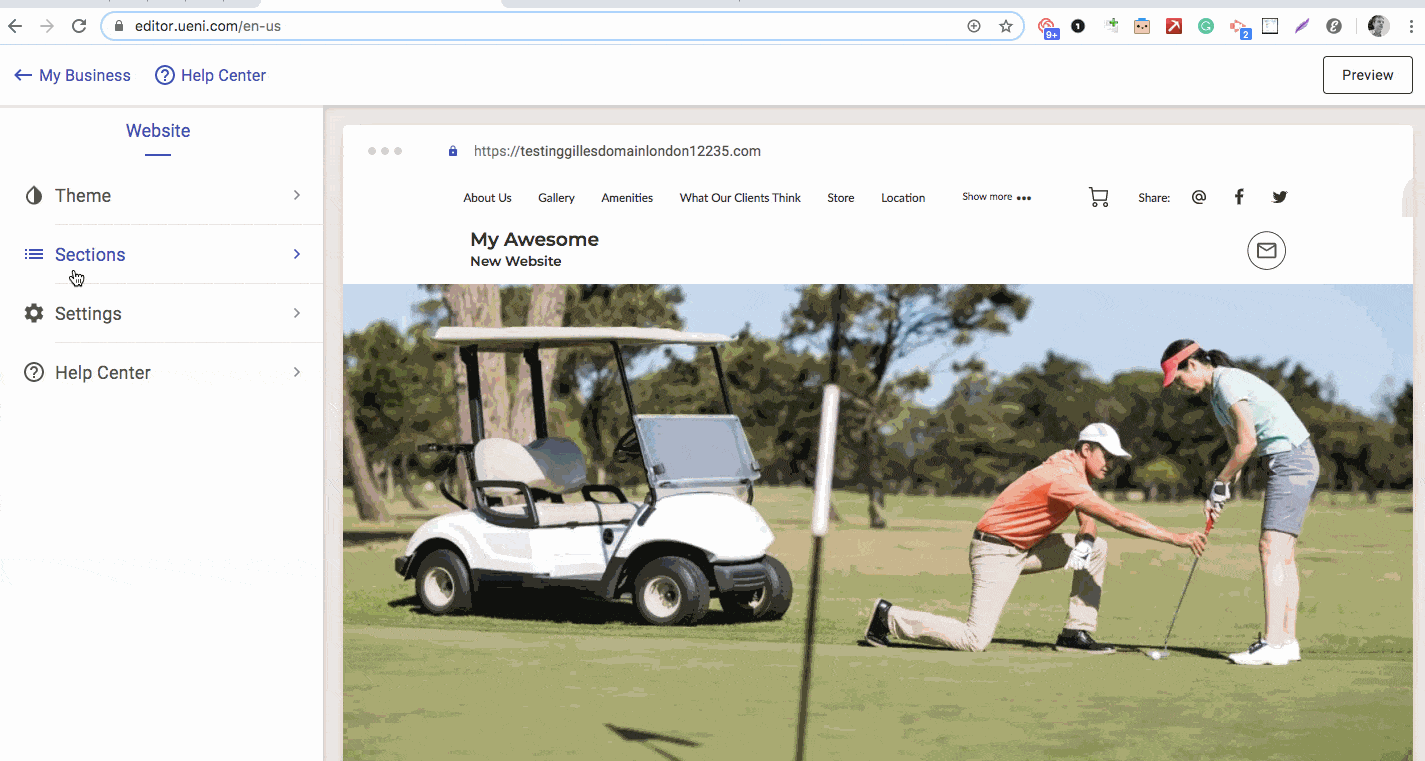
You can use this section to edit or remove your opening hours. You can also list your business as open or closed on certain days using the blue checkbox icon.
If you prefer to see a video, check out our how-to guide here.
Is Your Address Correct?
For storefront businesses, the importance of a correct address is clear: if you’re relying on customers to visit you in person, they need to be going to the right place!
Even if you don’t have a storefront that people want to visit, making sure that you’ve correctly listed the areas that you cover is essential to helping people know if your services or products are available to them.
Is Your Online Presence Represented?
In 2022, it’s rare to find a business that only has one method of representation on the internet. From social media like Twitter, Facebook, and Instagram to other websites, your customers want to get an idea of what your business is about from multiple outlets – so if you’ve got a really great IG presence or have a bunch of great Etsy reviews, link them on your website! It’ll help Search Engines and customers get a better understanding of your business.
Use the Promotions Tool!
One of the best things about a UENI page is the ability to display any current promotions prominently in a banner below your header. When you signed up with us, we asked you for any promotions you may have been running – but it’s possible that you weren’t sure how it would be used, or maybe you simply didn’t have a promotion when you signed up.
To use the promotion Tool, simply Click Sections and scroll down to Promotions.
Using the Plus Plan to Get an Edge
At UENI, we see hundreds of small business websites every day, and we’ve figured out the best way to make your website stand out against the competition. Our top-performing businesses have a few things in common, but one thing in particular really makes these websites pop – great photos, detailed service descriptions, and great information about the business.
We built your website to the highest standard we could, but the truth is that we’re website builders, not mind readers. When you receive your website from us, you’re looking at a good representation of your business, but only you can make it a great one.
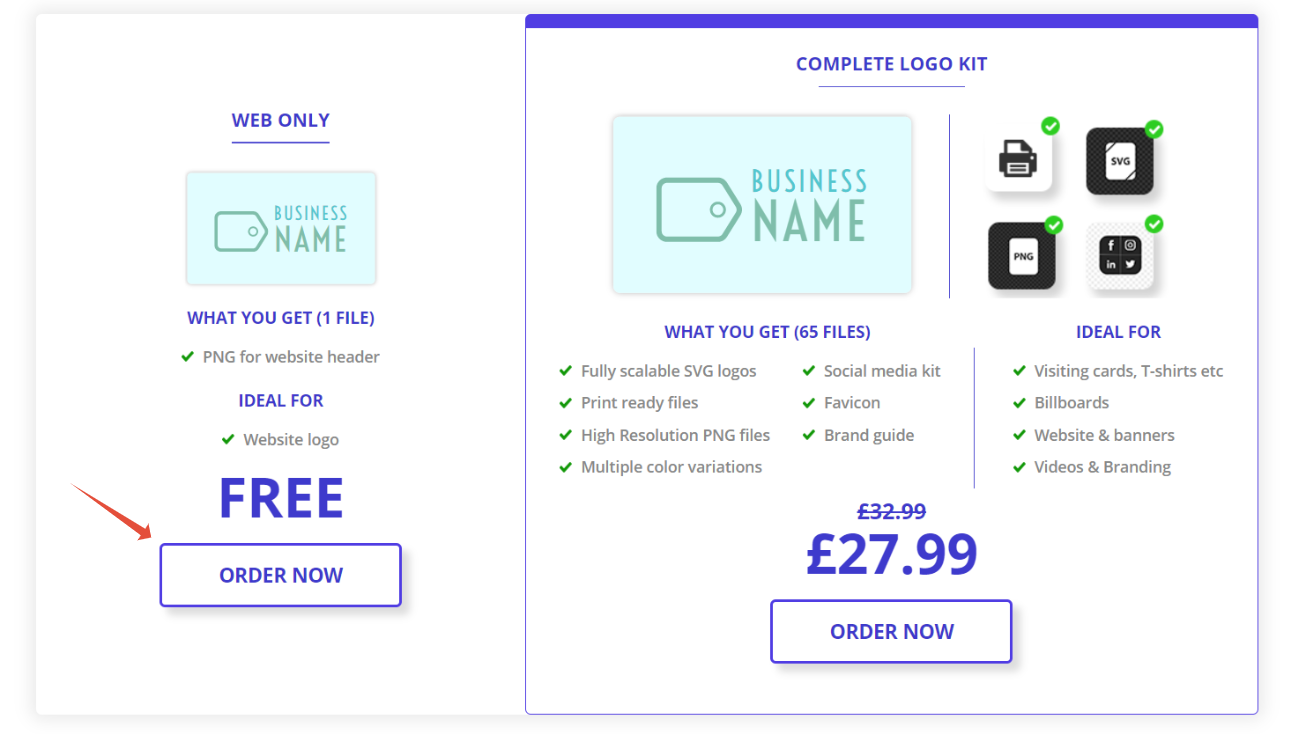
1. Get A New Logo Using Our Logo Designer
Your company’s logo is nothing less than the face of your business. That’s why an attractive, recognisable logo is key to really establishing your brand – no matter what else you put on your website, your logo is essential to explaining your customers to what your business is all about.
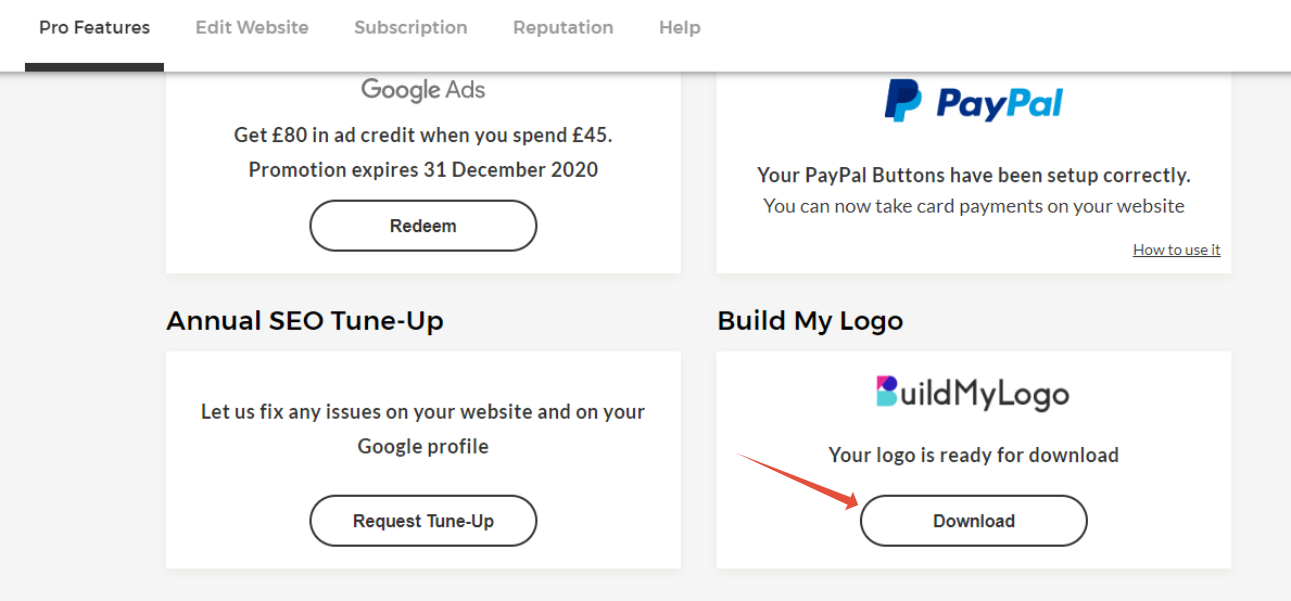
One of the perks from our Plus Plan is access to a free logo for your business. To get started, log in to your Hub and head to the Pro Features tab.
Once you’re in your Pro Features, Follow these steps:
1. Click the Create a Logo option.
2. Find The Design You Like
3. Finish, Check Out, And Get Your Logo!
1. Click the Create a Logo option.

Press the Get Started button and you’ll be brought to BuildMyLogo’s website.
Enter your business name and click on Build My Logo.

2. Find The Design You Like
Scroll down, and you’ll be able to see all sorts of great options for you to choose from to find the best fit for your brand.

Use the menu to the left to input your details and adjust the font size & spacing as you see fit, then click the Web Only Free Order.
3. Finish, Check Out, And Get Your Logo!
Once you’ve finished in the Checkout, push Complete Order and enter in your payment & billing details – don’t worry, you’ll get a 100% discount, so the logo will be entirely free.

Once you’ve completed those steps, head back to the Pro Features tab and you’ll see that the Build My Logo Button you clicked on to start has a Download button you can use to access your new logo!
Forgot how to upload your logo? Give yourself a refresher with our help article here.
2. Choosing a Custom Domain and a Professional Email
A custom domain name is your website’s individual address on the web. It helps people find you online, makes your website look more reputable, and professional to the world. You can put it on business cards, documents, marketing materials – anywhere people can see it.
No matter what industry you’re based in, online competition is fierce. Everyone and their grandmother has a website so it is essential to distinguish yourself if you are to have a long line of customers knocking at your door.
You want to be at the front of potential customers minds when they search for services/products like yours. To do this, it is essential to have a memorable domain name. Make it too complicated and users will just go somewhere else.
In other words, it’s the difference between barrythebarber.ueniweb.com and barrythebarber.com
The same goes for emails. When someone books an appointment with you, are they going to be more impressed by coolbusiness123@free-email.com or CEO@your-business.com ?
The answer is obvious.
How To Choose a Custom Domain
How To Choose A Custom Email
How To Choose a Custom Domain
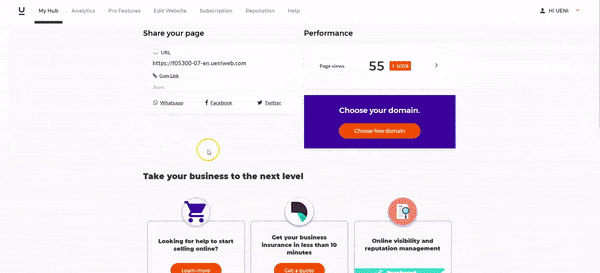
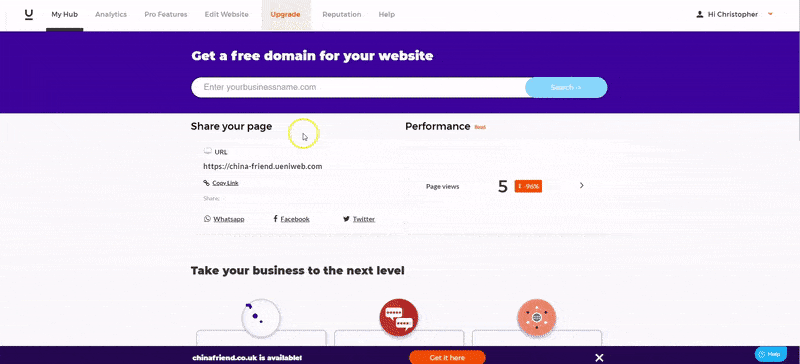
When you log into your UENI Hub, you’ll see a big purple Choose Domain button under your Pro Features Page (it also appears in the hub).
Once you click Chose Your Free Domain, a search bar will pop up that you can use to search for the domain name you want (e.g. yourbusinessname.com). This will check if the URL you want is available:

Here you’ll be able to see whether the domain name you’ve selected is available, as well as our recommended options. Make sure you double check your spelling and choose your domain carefully, because changing it later will not be free.
Not happy with the results? Just hit Search Again to see some different options.
When you’ve made up your mind, just click Confirm Selection to finish up.
All done! Keep in mind, it can take up to 72 hours for your new domain to point to your UENI website.
How To Choose A Custom Email
Once your domain name is live, it’s time to set up your professional email. Just like the Domain, this is available under the Pro Features section:
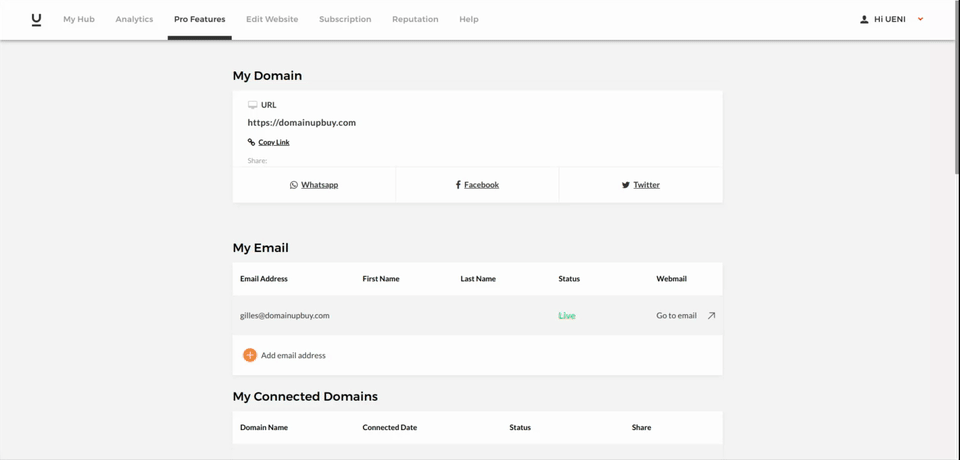
All you have to do is fill in your desired email name and a password, then click Submit.
See the example below on how to pick an email handle (e.g. ‘info’). In this instance, we’ve selected info@choose-your-domain.com.
Once your email address has been successfully setup, you’ll see a confirmation in the hub as shown in the example below.
To access your new email account, use the Go to my Email button on your Hub, or click here to access the UENIMail login page.
Use the email address and the password you selected to login to your new email account.
3. Setting Up Your Shopping Cart and Adding Prices
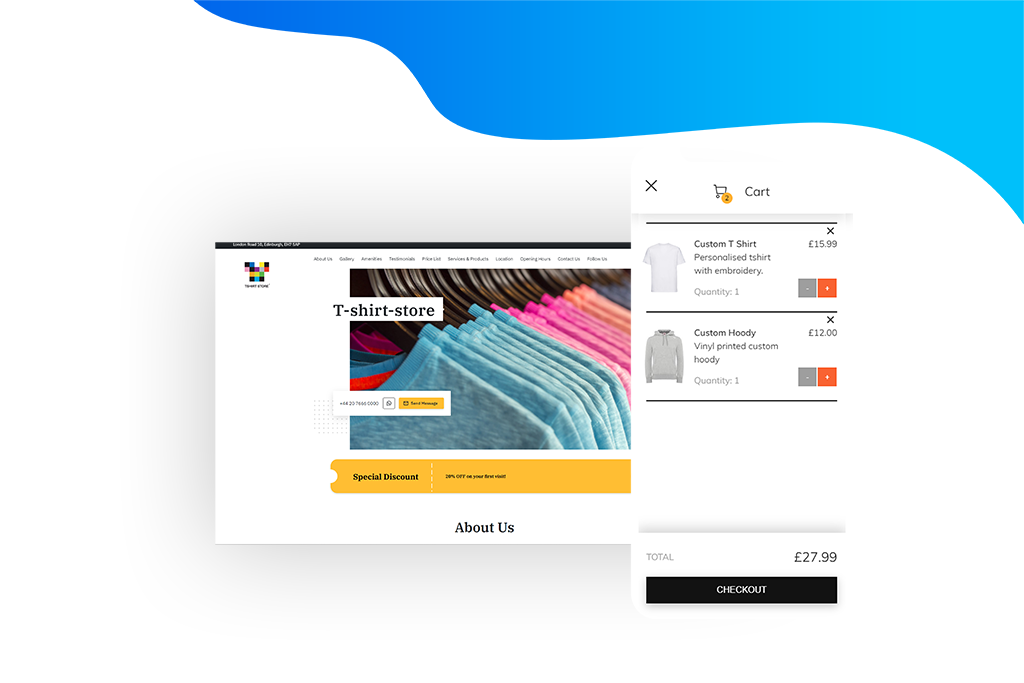
One of the major perks of the Plus plan is our Shopping Cart feature – which allows people to directly buy products or book services on your website.
How To Sell Products
1. Setting Up Paypal
2. Adding Products
3. Setting Up Your Shopping Cart
1. Setting Up Paypal
First, you need to go back to the first page of the editor, and then click on “Settings”.
Then, click in the blue button that says “Connect with PayPal”.
Follow the steps to create an account or login with an existing one, then the page will ask you if you wish to connect your account to UENI’s Payment Checker.
Simply click on “Accept and Continue”. a page will load, do not leave or close the page.
When you return to the editor, you should see a message that tells you that your PayPal email is now connected.
2. Adding Products
You will need to go back to the “Services & Products” section of the Editor. If you haven’t created a group for your products yet, you’ll need to Click Add New Group.
Now click on “Add a new product or service”.
Then fill out the item’s description, including the name, an image, and a price.
Then tick the box “is it a product?” This will let Google know what it is, and so Google will display the product information directly in search in a nice and easy to understand way.
The information that appears on Google might be slightly different from that on your UENI page. We have no power over that, we give the information to Google, but it’s Google who ultimately decides how it’s displaying that information.
NOTE: if you select this option, it will disable the “Book” button, as products can only be bought.
3. Setting Up Your Shopping Cart
Once your Paypal is enabled and your products are live on your page, you can set up a shopping cart, rather than a buy now button.
If you created a PayPal account, or already had one live, there are only two steps you need to follow:
1. From the main page in the editor click on “Settings”.
2. Next, click on “Shopping cart”.
NOTE: To be able to use shopping carts you have to use the Modern, Classic and Natural theme.
How to Sell Services
1. Adding Services
2. Tip: Adding Prices
3. Tip: Adding Descriptions
1. Adding Services
Just like with Products, you’ll want to go into the Services & Products section of the Editor. If you haven’t created a group for your service yet, you’ll need to click on Add New Group.
Now click on “Add a new product or service,” just like with products
Then, give your Service a name, and you’ll want to add an image, a description and a price. We’ll give you some tips on Prices and Services below.
Note: Here, you will want to keep the Product button unclicked, because services are not eligible for the Google Carousel.
2. Tip: Adding Prices
Why add prices? It’s simple – a service without a price attached is going to make your business look less professional. For bookable services, competitive prices are an essential part of success. For established businesses, this is easy: you already know what you want to charge for a given service.
If you’re a new business, you’ll want to keep an eye on what similar shops are using as their pricing structure– if you’re a barber or a hairdresser, for example, take a look at the typical going rate for your service in your area.
3. Tip: Adding Descriptions
Which sounds better to you? “We offer a variety of haircuts in many styles” or “From classic buzzes and fades to wild new looks, we can give you exactly the cut you want, no matter what it is! No matter what you go for, you’ll always leave our hair salon looking your best.”
That’s the power of a good description. Make sure you’re giving your business a leg up on the competition by spending time crafting the best one you can.
4. Themes!
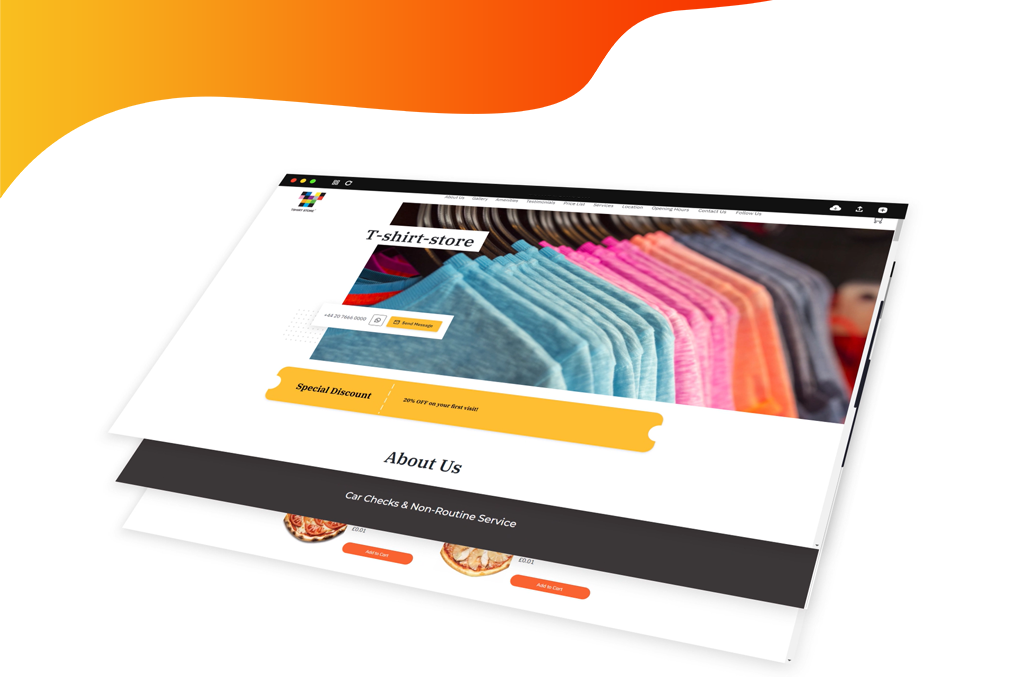
We have 8 themes available for your business so you can find the one that works best for you. All three can be found in the Editor under Theme.
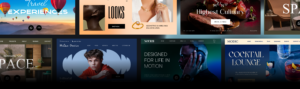
1. The Classic Theme
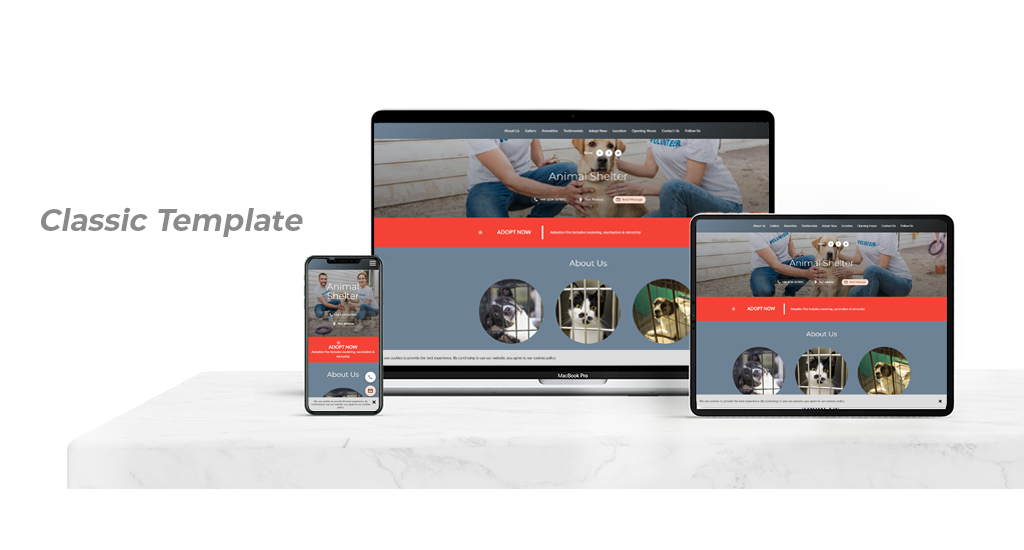
The Classic Theme is great for businesses that want to highlight their team, or those that want to focus on educational or otherwise written content. It also works well for businesses that want to update the page frequently with new information.
Examples of The Classic Theme:
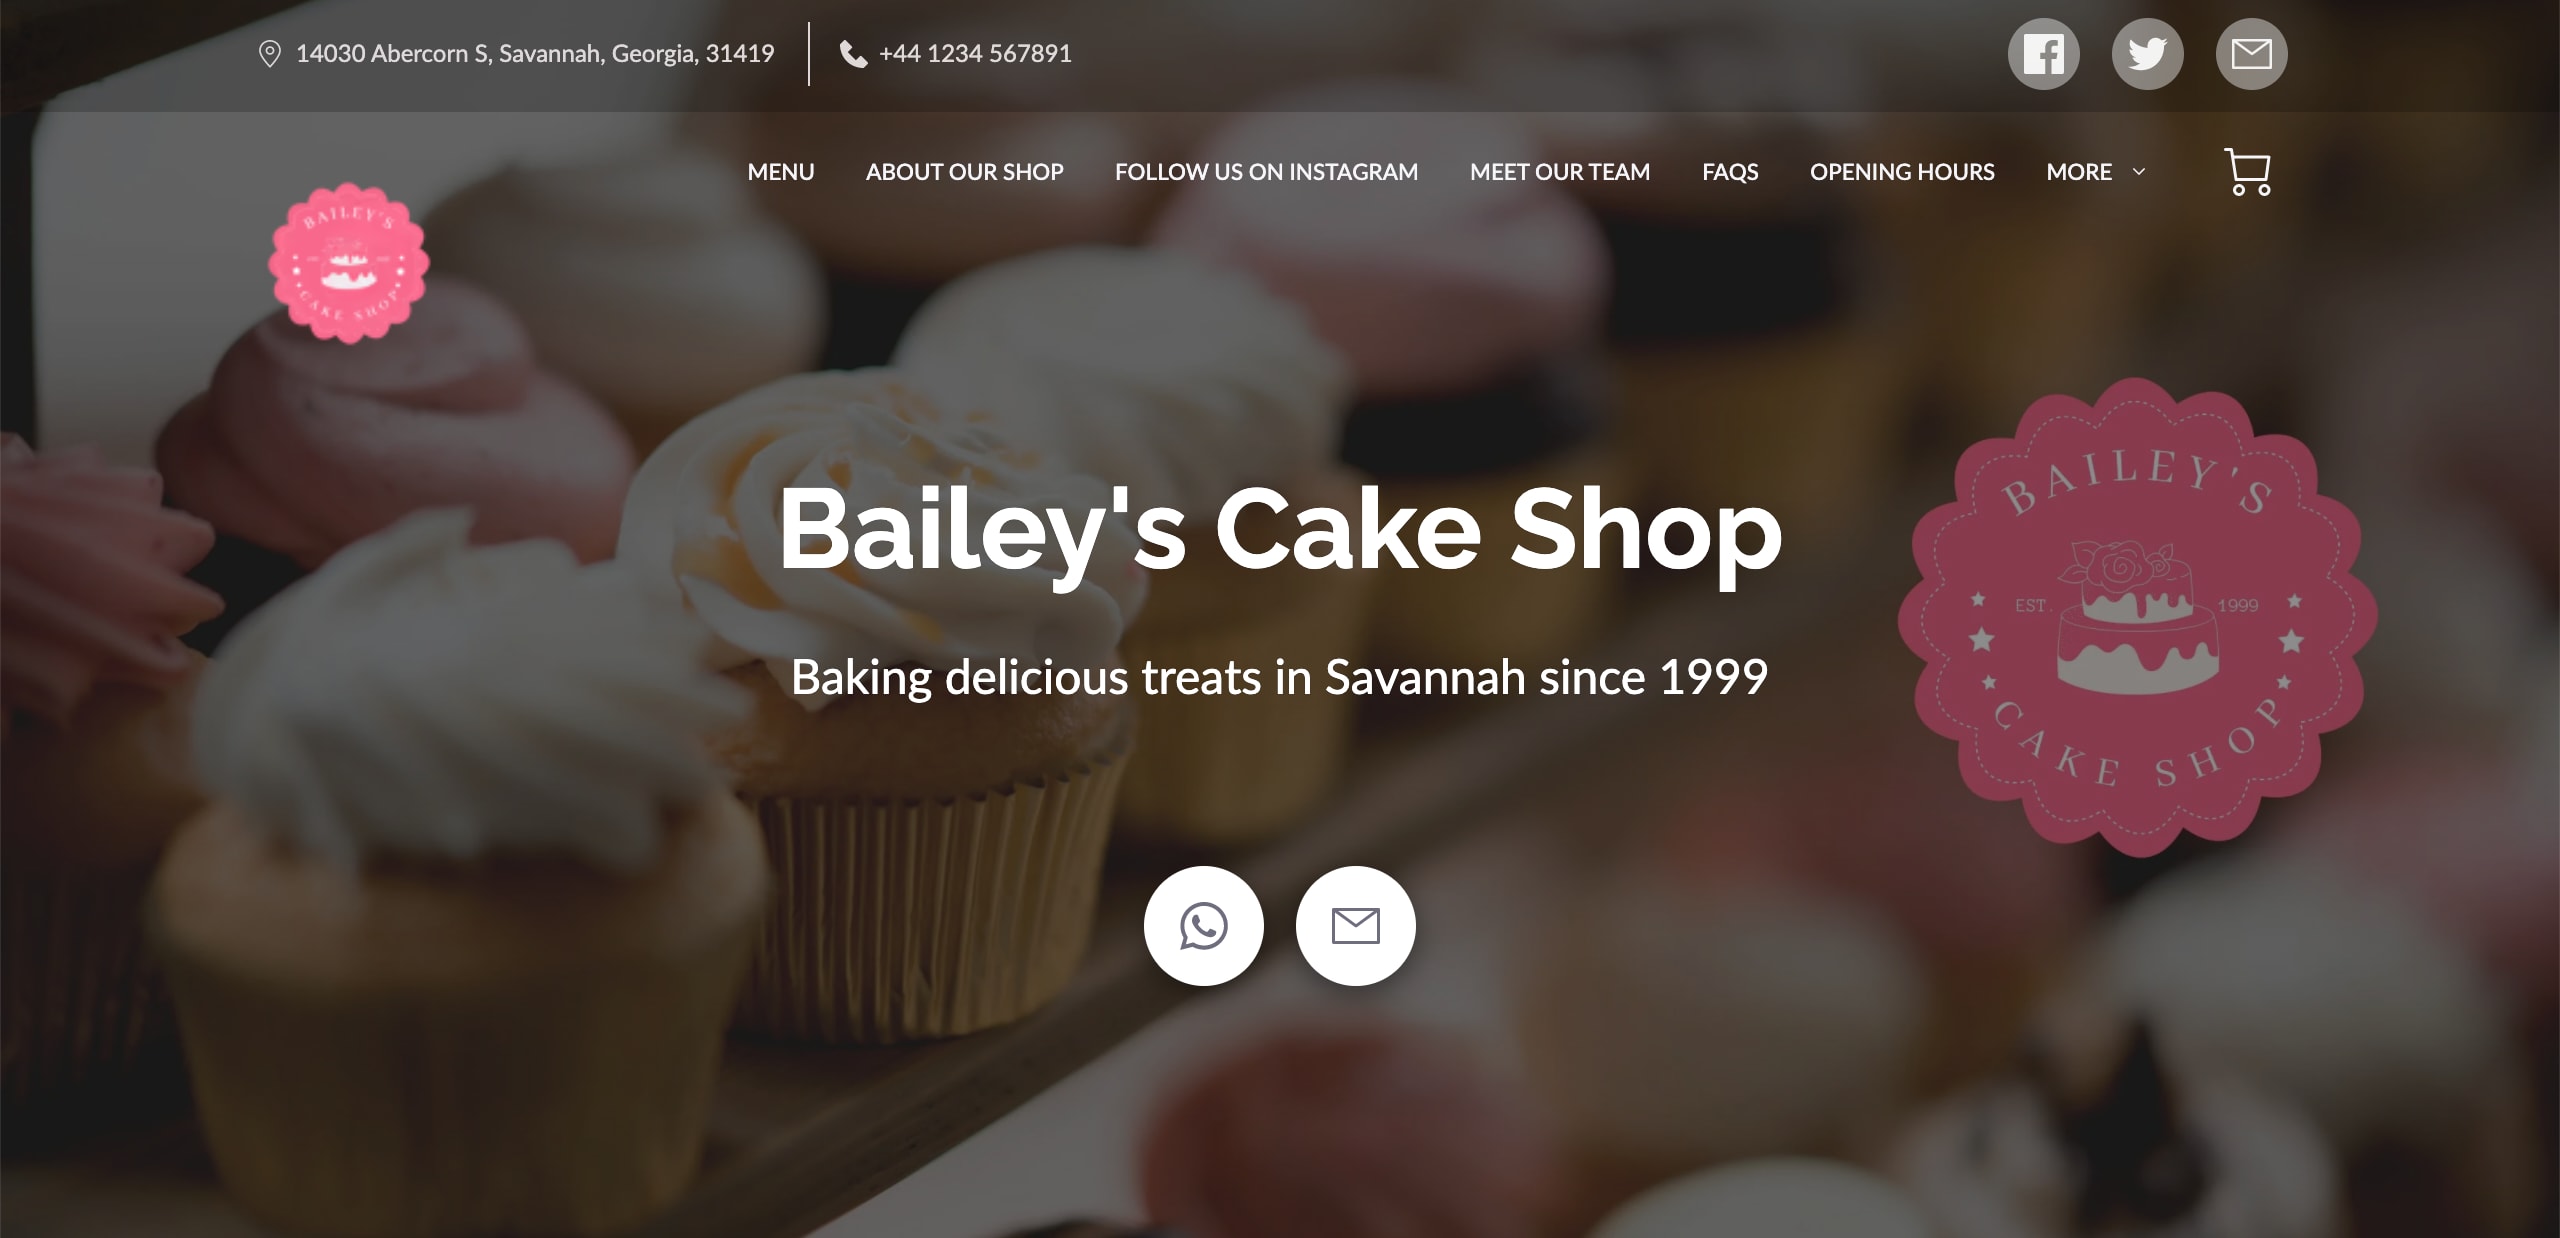
2. The Modern Theme
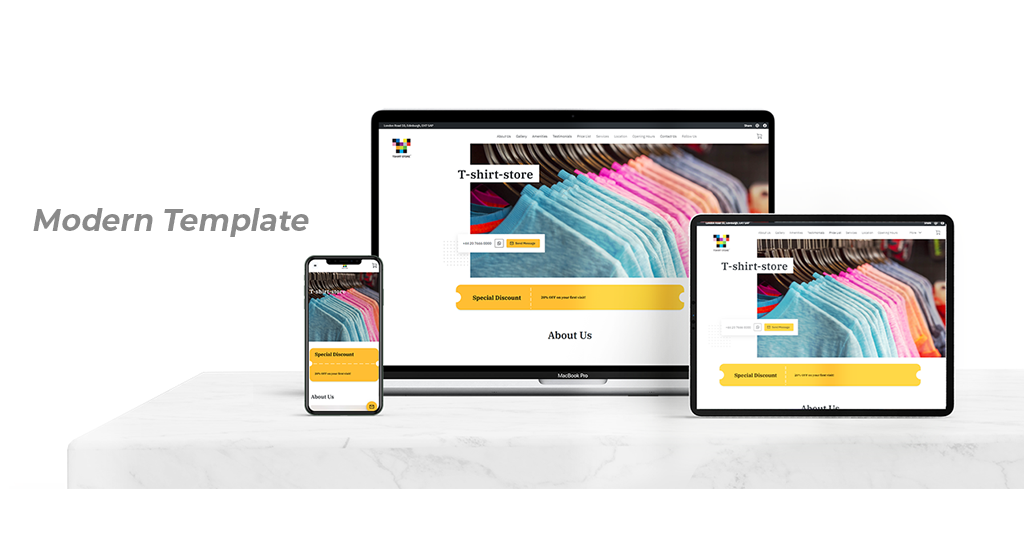
The Modern Theme is perfect for businesses that crave a structured, clean design, and have high-quality images that really leave an impression. Have a sharp logo, a snappy business name and a great cover image? Try out the Modern Theme.
Examples of The Modern Theme:
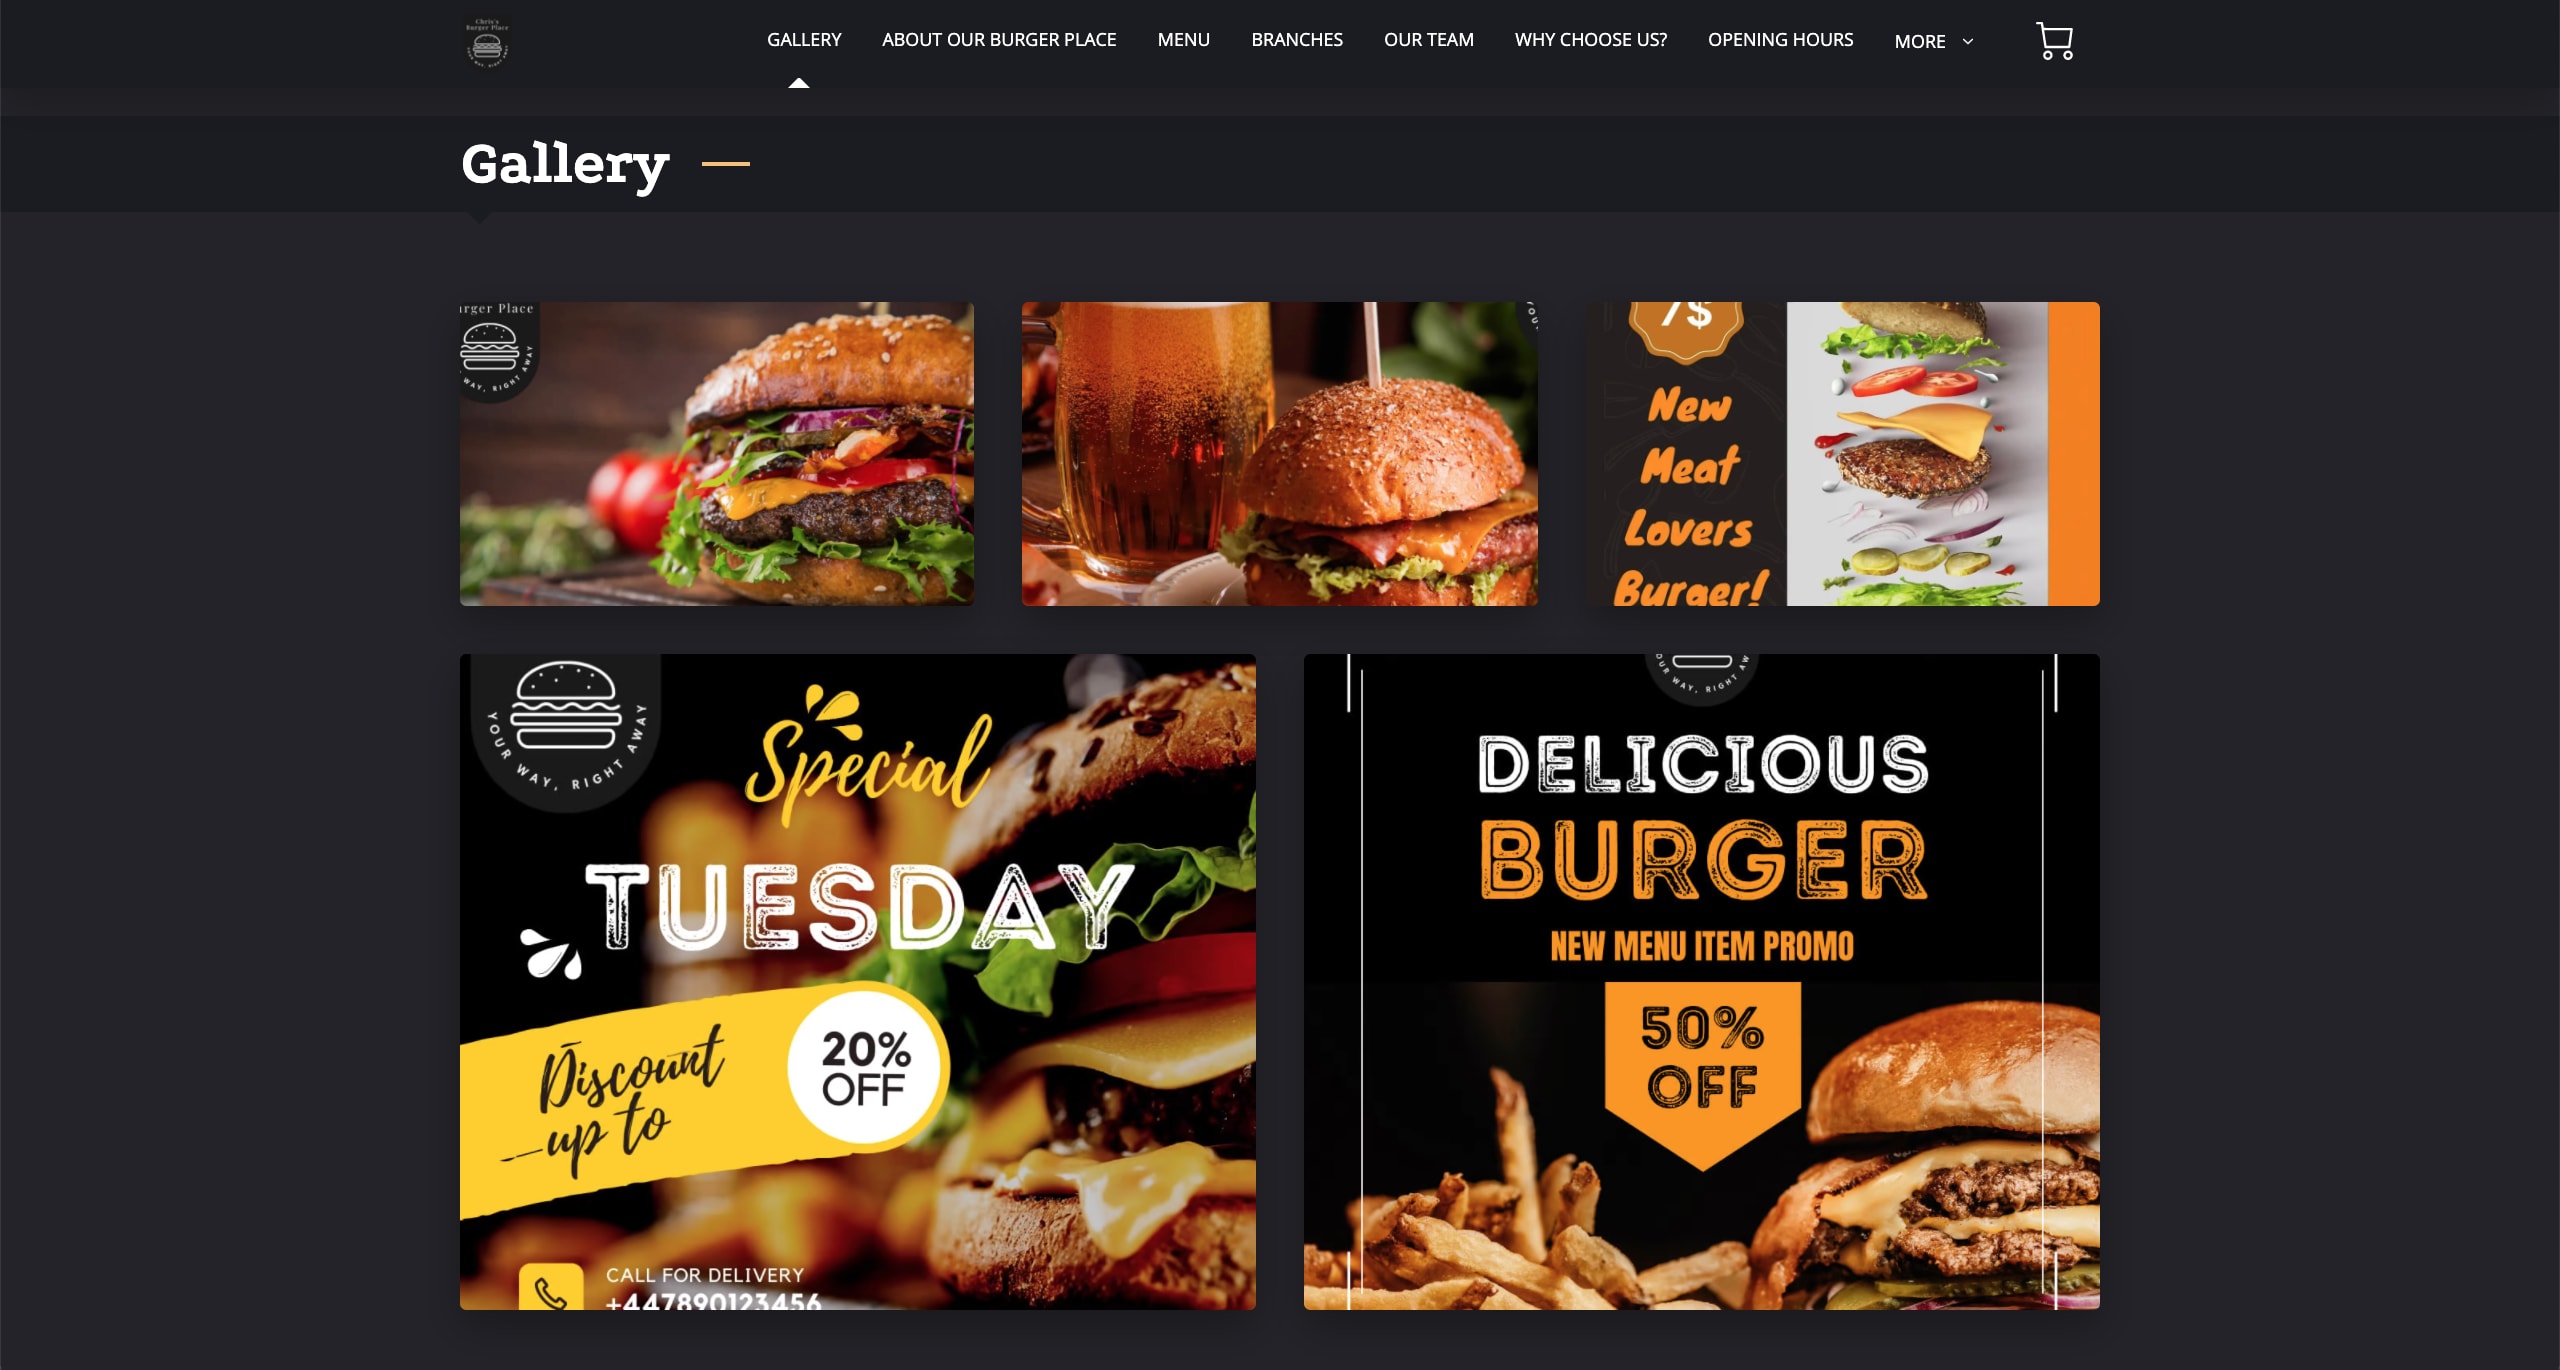
3. The Natural Theme
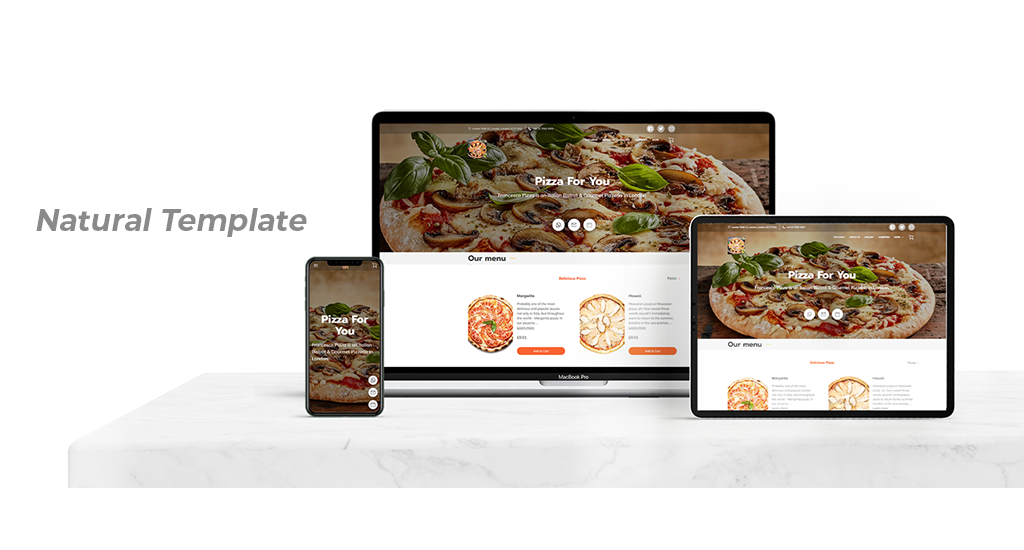
The Natural Theme is perfect for visually-oriented businesses, or anyone who wants to highlight good quality images. The portfolio-style gallery makes it ideal for Artists, Photographers, or Restaurants.
Examples of the Natural Theme:
5. Your Google Business Profile (formerly known as Google My Business) & Google Reviews
Once all of your details are in order, it’s time to check in your Google Business Profile listing.
Thanks to UENI’s special partnership with Google, we are able to make sure your business stands out from the competition.
This is made possible by creating and verifying your Google Business Profile, making sure your business appears in Google Search and Google Maps results.
This means that customers will see you as a trusted and reliable professional, and will be more likely to check out your services and products. A verified company with more reviews on Google will be more likely to appear in locally-based searches (including Google Maps) as well as searches that are relevant to your industry.
A live Google Business Profile account will also allow you to utilise Google Reviews, a powerful tool for SEO and establishing your business as a good company to work with or visit.
If you have your own GBP listing already, you can read about how to connect it to your UENI page here.
Google Business Profile Statuses
How is my Google Business Profile listing verified and made public?
Google Business Profile Statuses
Your GBP Needs Verification
In most cases, we can automatically create and verify your Google Business Profile listing, but there are some business categories where manual verification is required. If you see this status, you can log into your UENI Hub to follow the steps for verification. We have more details below.
Google Business Profile Not Built
If your Google Business Profile has not been built, this is most likely due to an incomplete address – make sure you’ve double-checked your information if you haven’t.
If the information is accurate and your Google Business Profile listing has still not been built, please send us an email at vip@ueni.com and we’ll get you sorted.
How is my Google Business Profile listing verified and made public?
All UENI plans include free Google Business Profile listing set-up. Thanks to our partnership with Google, we can verify many businesses on GMB automatically. This means that most of our customers will receive their website and Google listing at the same time.
However, some business types still require manual verification, and Google will not display listings on Google Maps they are completely verified. If this is the case, you’ll need to take additional steps to verify it and get it published.
1. Double-check your Business Address
In order to manually verify a Google listing, we’ll need a complete and accurate business address. It doesn’t need to show up on your page, but we cannot build your GMB without it. Even though Google offers a few other verification methods – a phone call, text, email and Google Search Console – the only method that’s available to all users is a verification postcard from Google. While you may not conduct your business at a physical location, Google requires a full address to send your postcard, and won’t accept PO boxes or remote mailboxes in this field.
2. Choose your Verification Method
Next, you’ll need to pick a verification method. To see the verification options available to you, simply login to your UENI Hub here.
You’ll see the following screen:

If the business address method is your only available option, you’ll have to request your postcard by clicking the Send PIN button. Depending on your location, it may take up to two weeks to arrive at your address of choice.
Once you have received the PIN through your preferred verification method, enter it in your UENI Hub. Google will then review your business listing and publish it within 24 hours.
Methods like a phone call or text will be faster, as you’ll receive your PIN instantly, but keep in mind that the review process still applies before your listing is published.
Please note: At the time of writing, GMB is advising that postcards may take longer to arrive due to COVID-19. For the same reason, reviews may take up to 3 days.
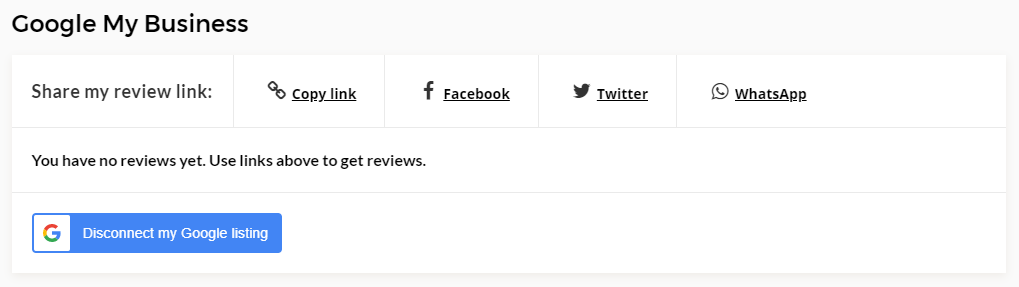
Sharing Your Google Reviews link
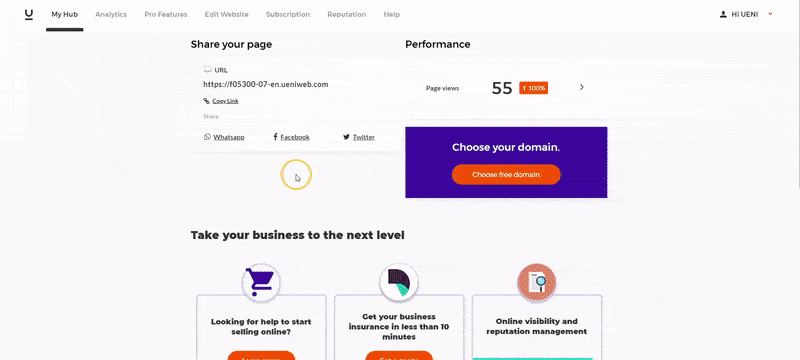
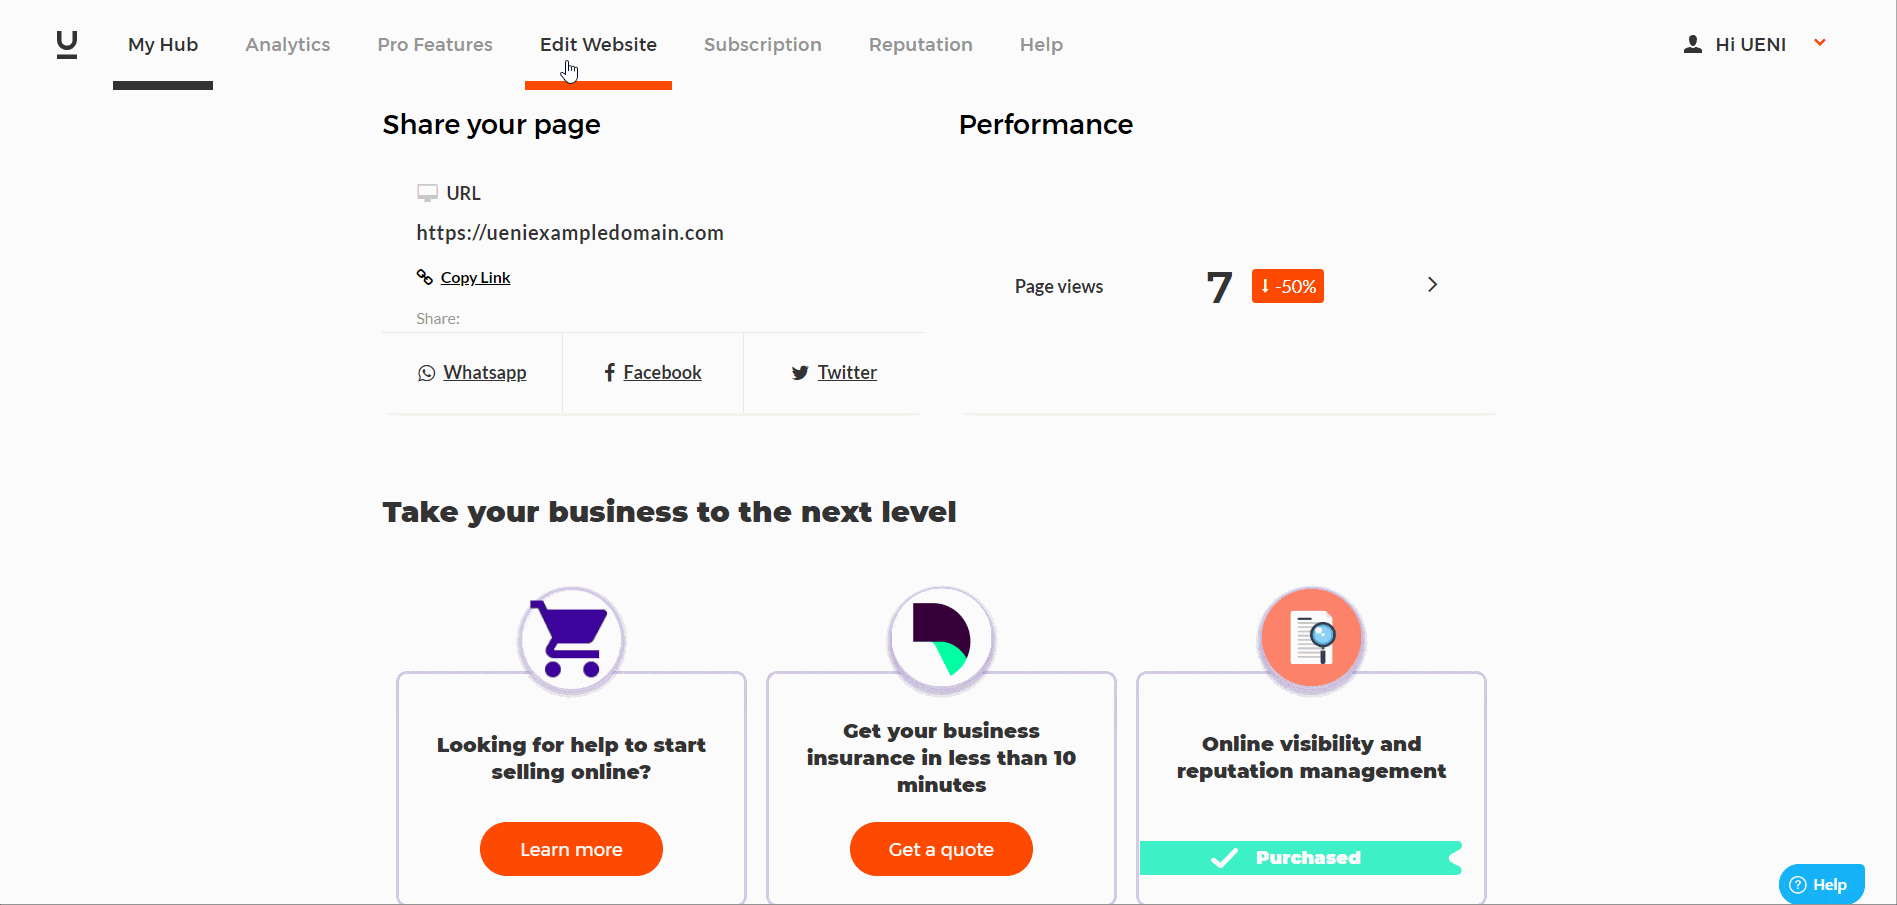
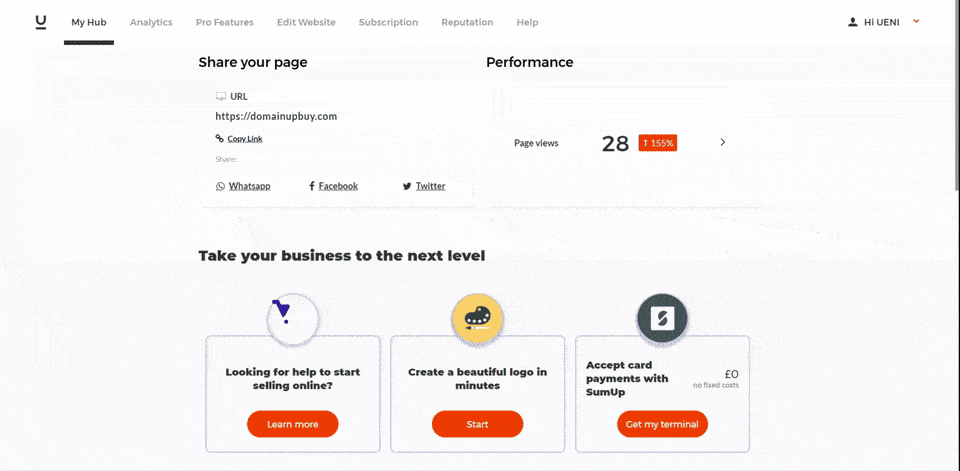
If your Google Business Profile Account is active, you can find a link to your Google Reviews at the bottom of the My Hub Page, where you can copy your Google Review link to share with your customers or share it directly through Facebook, Twitter and WhatsApp.
When people are looking for anything, from products to services to shops, 60% of them are going to use Google to search for reviews. This means that if your Google reviews aren’t linked with or listed on your website, you’re not giving yourself the best chance to succeed.
Adding Existing Google Reviews to Your Page.
If you’ve already got existing Google Reviews that you want to add to your page, or you want Google Reviews to automatically be synced to your page, you can set this up.
1. Head over to the Editor and click on Sections
2. Scroll down the list and select Google Reviews.
3. To enable your reviews, make sure the Google Reviews option is switched on and set to green.
4. To complete your changes, just hit Save.
Ta-da! Your Google reviews will now be visible on your website’s Testimonials section.
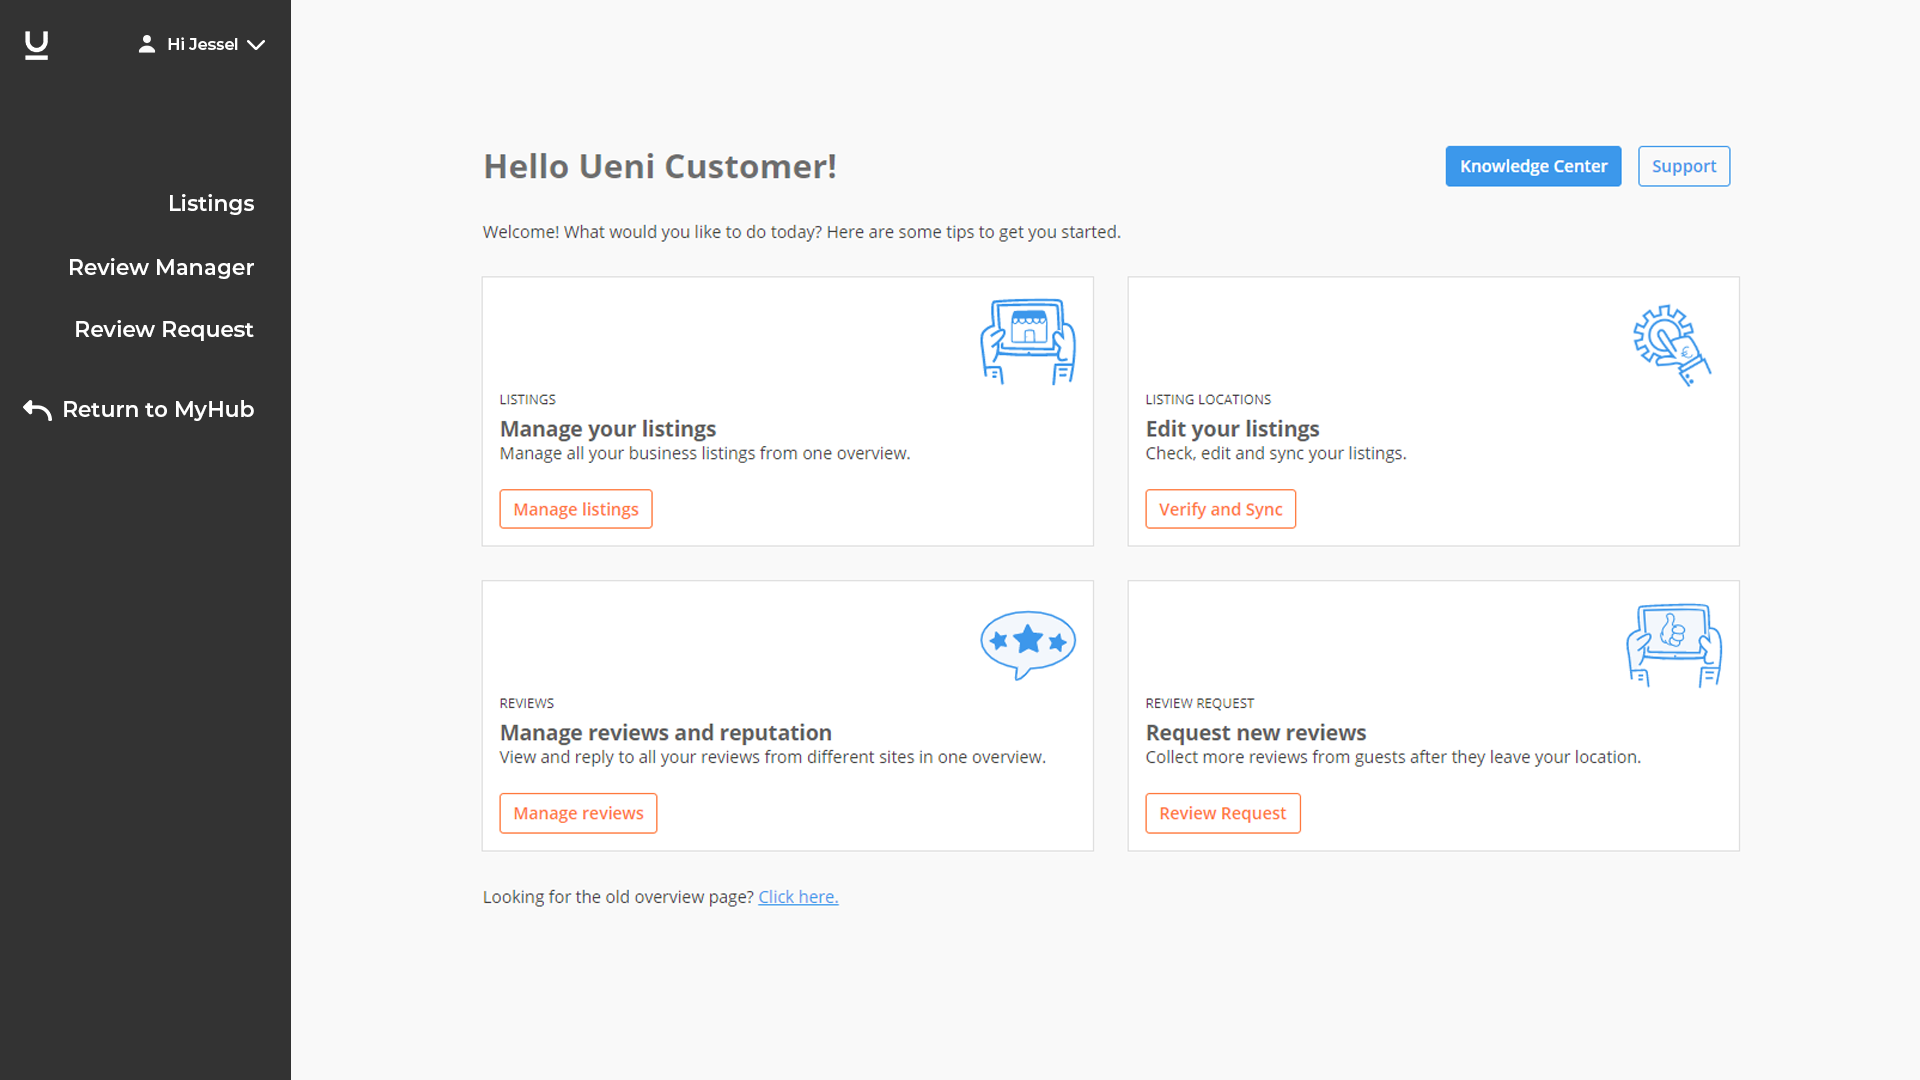
6. Listings Management
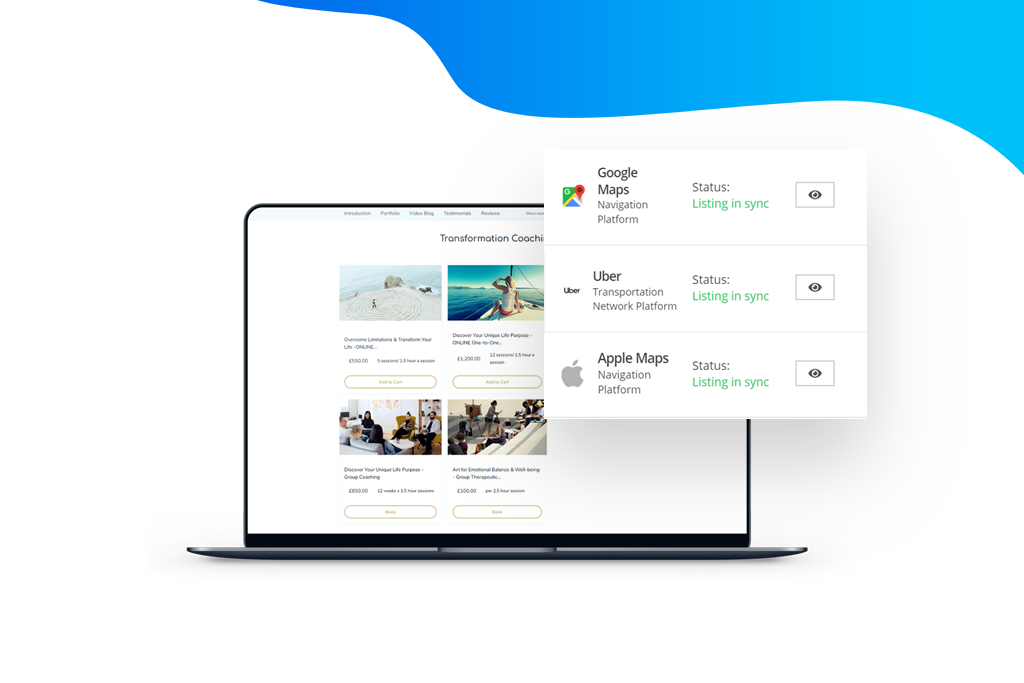
One of the key features of the Plus Plan is our Listings Management feature – this is an easy way to get your business onto some of the most trusted directories around, like Uber, Apple Maps, and Facebook. We can help you build your business profile for all of these and get listed in a few days, which means more time for you to do what you really love to do.
To get started, head to the Reputation tab in your hub.
If your Google Business Profile listing is not live and verified, you will get an error saying that there is an issue with your listing, and you will have to email vip@ueni.com to get it fixed.
If it works, you’ll see an image like this below:
From there, you’ll want to go into the Listings Tab on the menu to the left. Review Management and Review Requests are for our Reputation plan customers – you can learn more about them here.
Once you’re here, you can check over your company details, as well as add some directory-specific ones, including special opening hours for certain days, images you want to be hosted directly on these directories, and any specific services or brands you may offer. There’s also an option to add specific attributes about your business, like whether you offer contact-free services or outdoor seating – important in the COVID-19 world we find ourselves in.
Once your details are finished to your liking, you’ll want to check out the Channels tab, which will show you the status of your listing, whether you have to take more actions to connect, and how to view your listing when it’s live.
If you have more questions about the listings tool, please check out these articles in our Help Center:
- Can I change my listing information?
- What is the Findability Score?
- What do the different sync statuses on my Listings mean?
- How to connect your Facebook Business account with Listings
- How to review the Listings status links
- Our Listing FAQ
What’s Next? Marketing Your Page.
Now that you’ve made your site the best it can be, how are YOU going to get the word out about your website? Every business is different, but there are some steps every page can take advantage of.
1. Advertise the page on Social Media.
Currently, there are 2.77 billion social media users worldwide and this number shows no sign of slowing down. When it comes to promoting your business, having a social media is a definite must. If you do it right, you’ll be able to reach millions of people at once.
Nevertheless, try not to use every social media channel out there. Select only the relevant ones that your clients frequent as this will help you connect with them more directly.
For example, you could open an Instagram account and share beautiful and eye-catching photos of your products. Alternatively, you could use a Twitter account to showcase your expertise and position your brand as a leader in the field. It all depends on the platforms that best fit your audience.
2. Multichannel sales – link your UENI shop to Facebook

Facebook isn’t just for posting photos and checking in with distant relatives, it can also be used to bring your shop to a wider audience where you can promote your services and products.
You can link your Facebook page through the Reputation tab by clicking on Listings and connecting your account on that screen. We have more in-depth details on our Help Centre here.
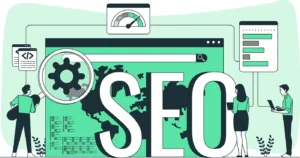
3. Customise Your SEO
When you first get your page, you’ll find that UENI has done extensive keyword research for every industry we work with, selecting the most common words and phrases users type into Google when searching for a specific business or service. Based on this, our expert copywriters and SEO specialists optimise all the elements of your website that will help you rank well on search engines.
But we’re not you. We don’t run your business. We can make educated guesses about what kinds of keywords you want to target, and how you want to describe your company, but when it comes to really making the page rank, you’re the top authority on the matter.
So what can you do?
We’ve got a whole host of tips available for you, but the first (and biggest) step is to make sure your content is top-notch, helpful to searchers, and gives them what they want.
4. Engage with your Customers
No one likes excessive emails, but alerting your customers to deals, offers, and updates regarding your business can be done tastefully and effectively. Able to re-open your shop after being closed because of COVID? Send a welcome back email. Need to ship out the old stock before the new season hits? Let people know!
One tip: always keep it brief – people are busy and it’s always going to be easier for them to not look at your message – and avoid being spammy, because you’ll just teach people to tune your company out.