
Did you know the quality of your photographs directly impacts how likely you are to convert people browsing your online shop into active customers ready to buy? It’s true. You can read here about how 93% of consumers consider visual appearance to be the deciding factor in a purchase. You can find it in study after study, all saying more or less the same thing – higher quality images are an important part of user engagement (in other words, people are more likely to interact with nicer photos.)
Does this mean you have to spend a fortune on a professional photographer to get everything just so? Well, you certainly can, but you definitely don’t have to. In this guide, we’ll teach you how to get great product photos on the cheap – no need for an expensive tripod or extensive lighting. Just some smart tips and a bit of know-how.
Sound good? Let’s get started with these 5 easy tips to kickstart your business!
1. Learn to Love Your Lighting
Great product photos always have a few things in common, but first and foremost, they’ve always got appropriate lighting for the photo. On a budget, the thing to go for is good natural lighting – it will help to bring out the best in your product, whatever it is. So, find a room in your shop or home with the biggest window you can, and set up your photography surface next to it. This can be a coffee table, a proper table, or anything else.
Why natural light? Most products, from jewellery to phones to nearly anything else are made of materials that have a reflective shine to them. That’s why most photos you take with your phone with flash have harsh shadows and a reflective quality to them. So we want to use the sun as an indirect light source: allowing for plenty of details without creating an ugly or amateurish photo.
2. Find a Level Base for Your Camera
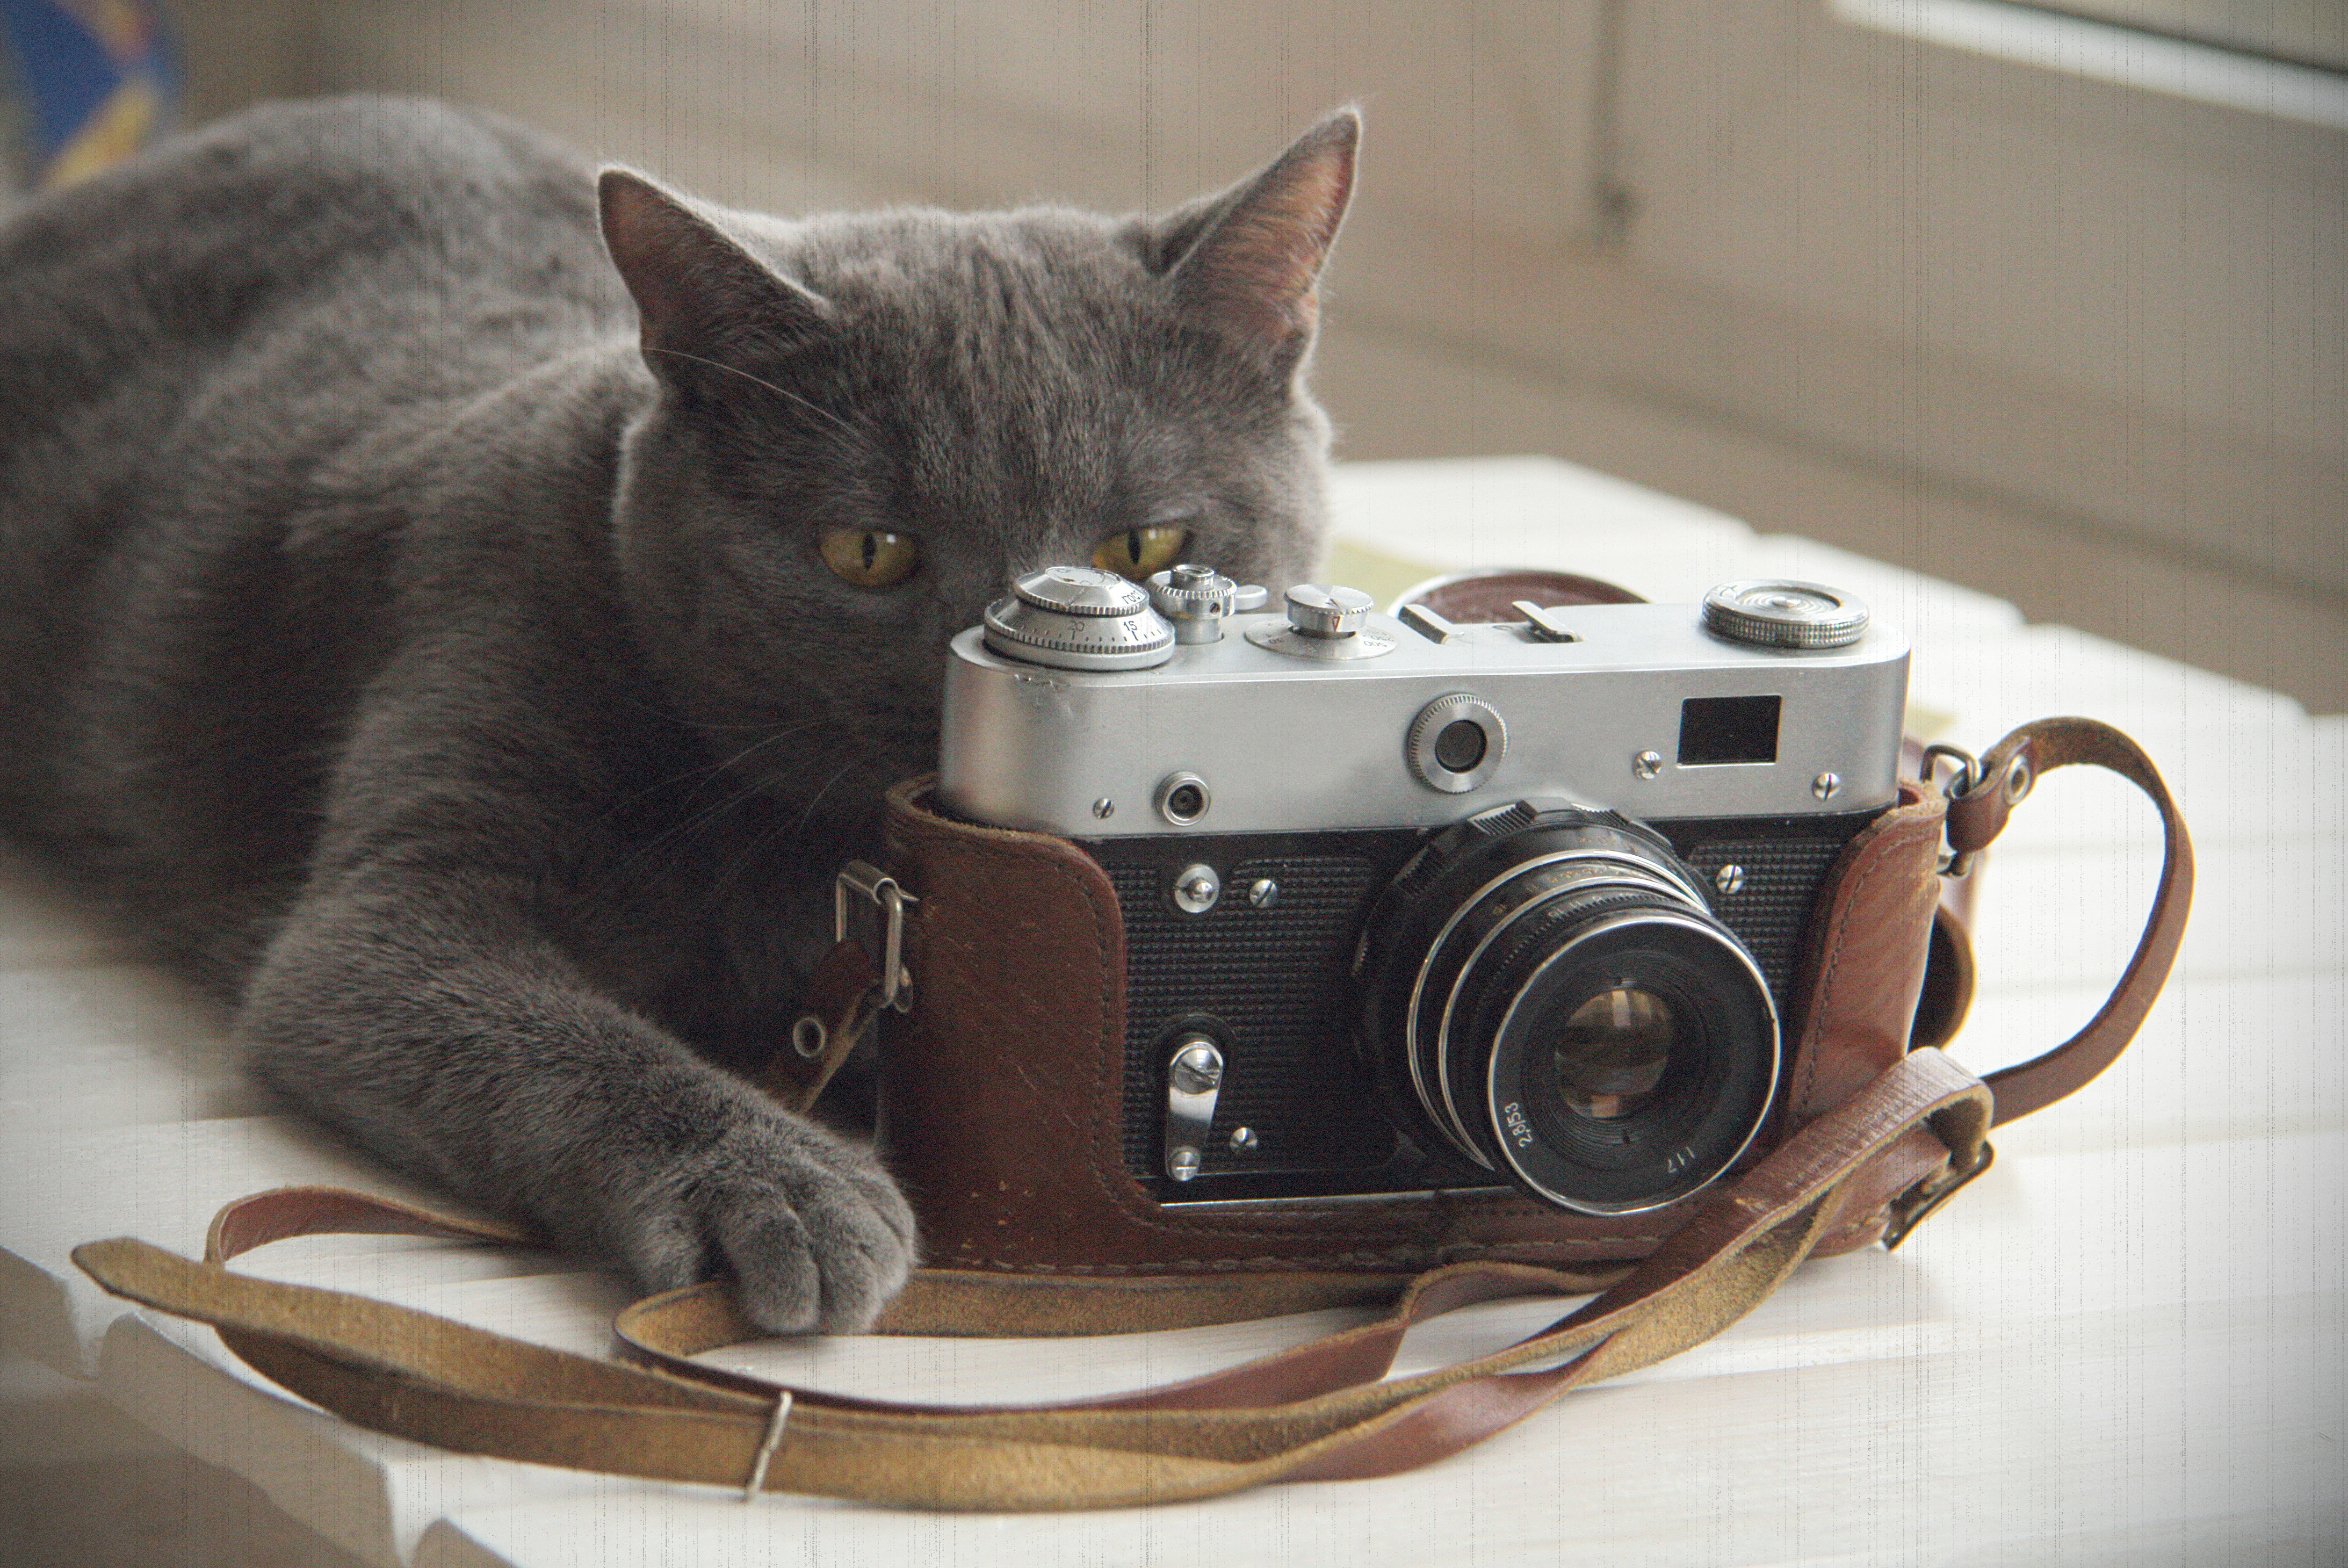
This is the point where nearly every other product photography guide will tell you to hop on Amazon and spend a bundle on a high-quality tripod. And, to their credit, if you can afford one they’re a great investment.
Why? As anyone who’s tried to take a photo – especially an up-close or detail-oriented photo – can tell you, camera shake is the worst. No matter how much you try to avoid it, any wobble in your hands can lead to a blurry, unfocused shot. That’s exactly what we’re trying to avoid when we’re putting together images for our photos.
Even if you don’t go with a tripod, you’ll need to make sure you have a book, a table, or some kind of stable stand you can use to rest your phone on and prop it up against. That way, you’ll be sure to have a steady base for your camera.
Of course, the big advantage of a tripod is that it’s always going to stay in place. If you’re leaning your phone up against a stack of books or something similar, make sure that it stays in place for the whole shoot. This will add consistency to your product photos and keep your entire line looking sharp.
Say goodbye to camera shake, and hello to sales!
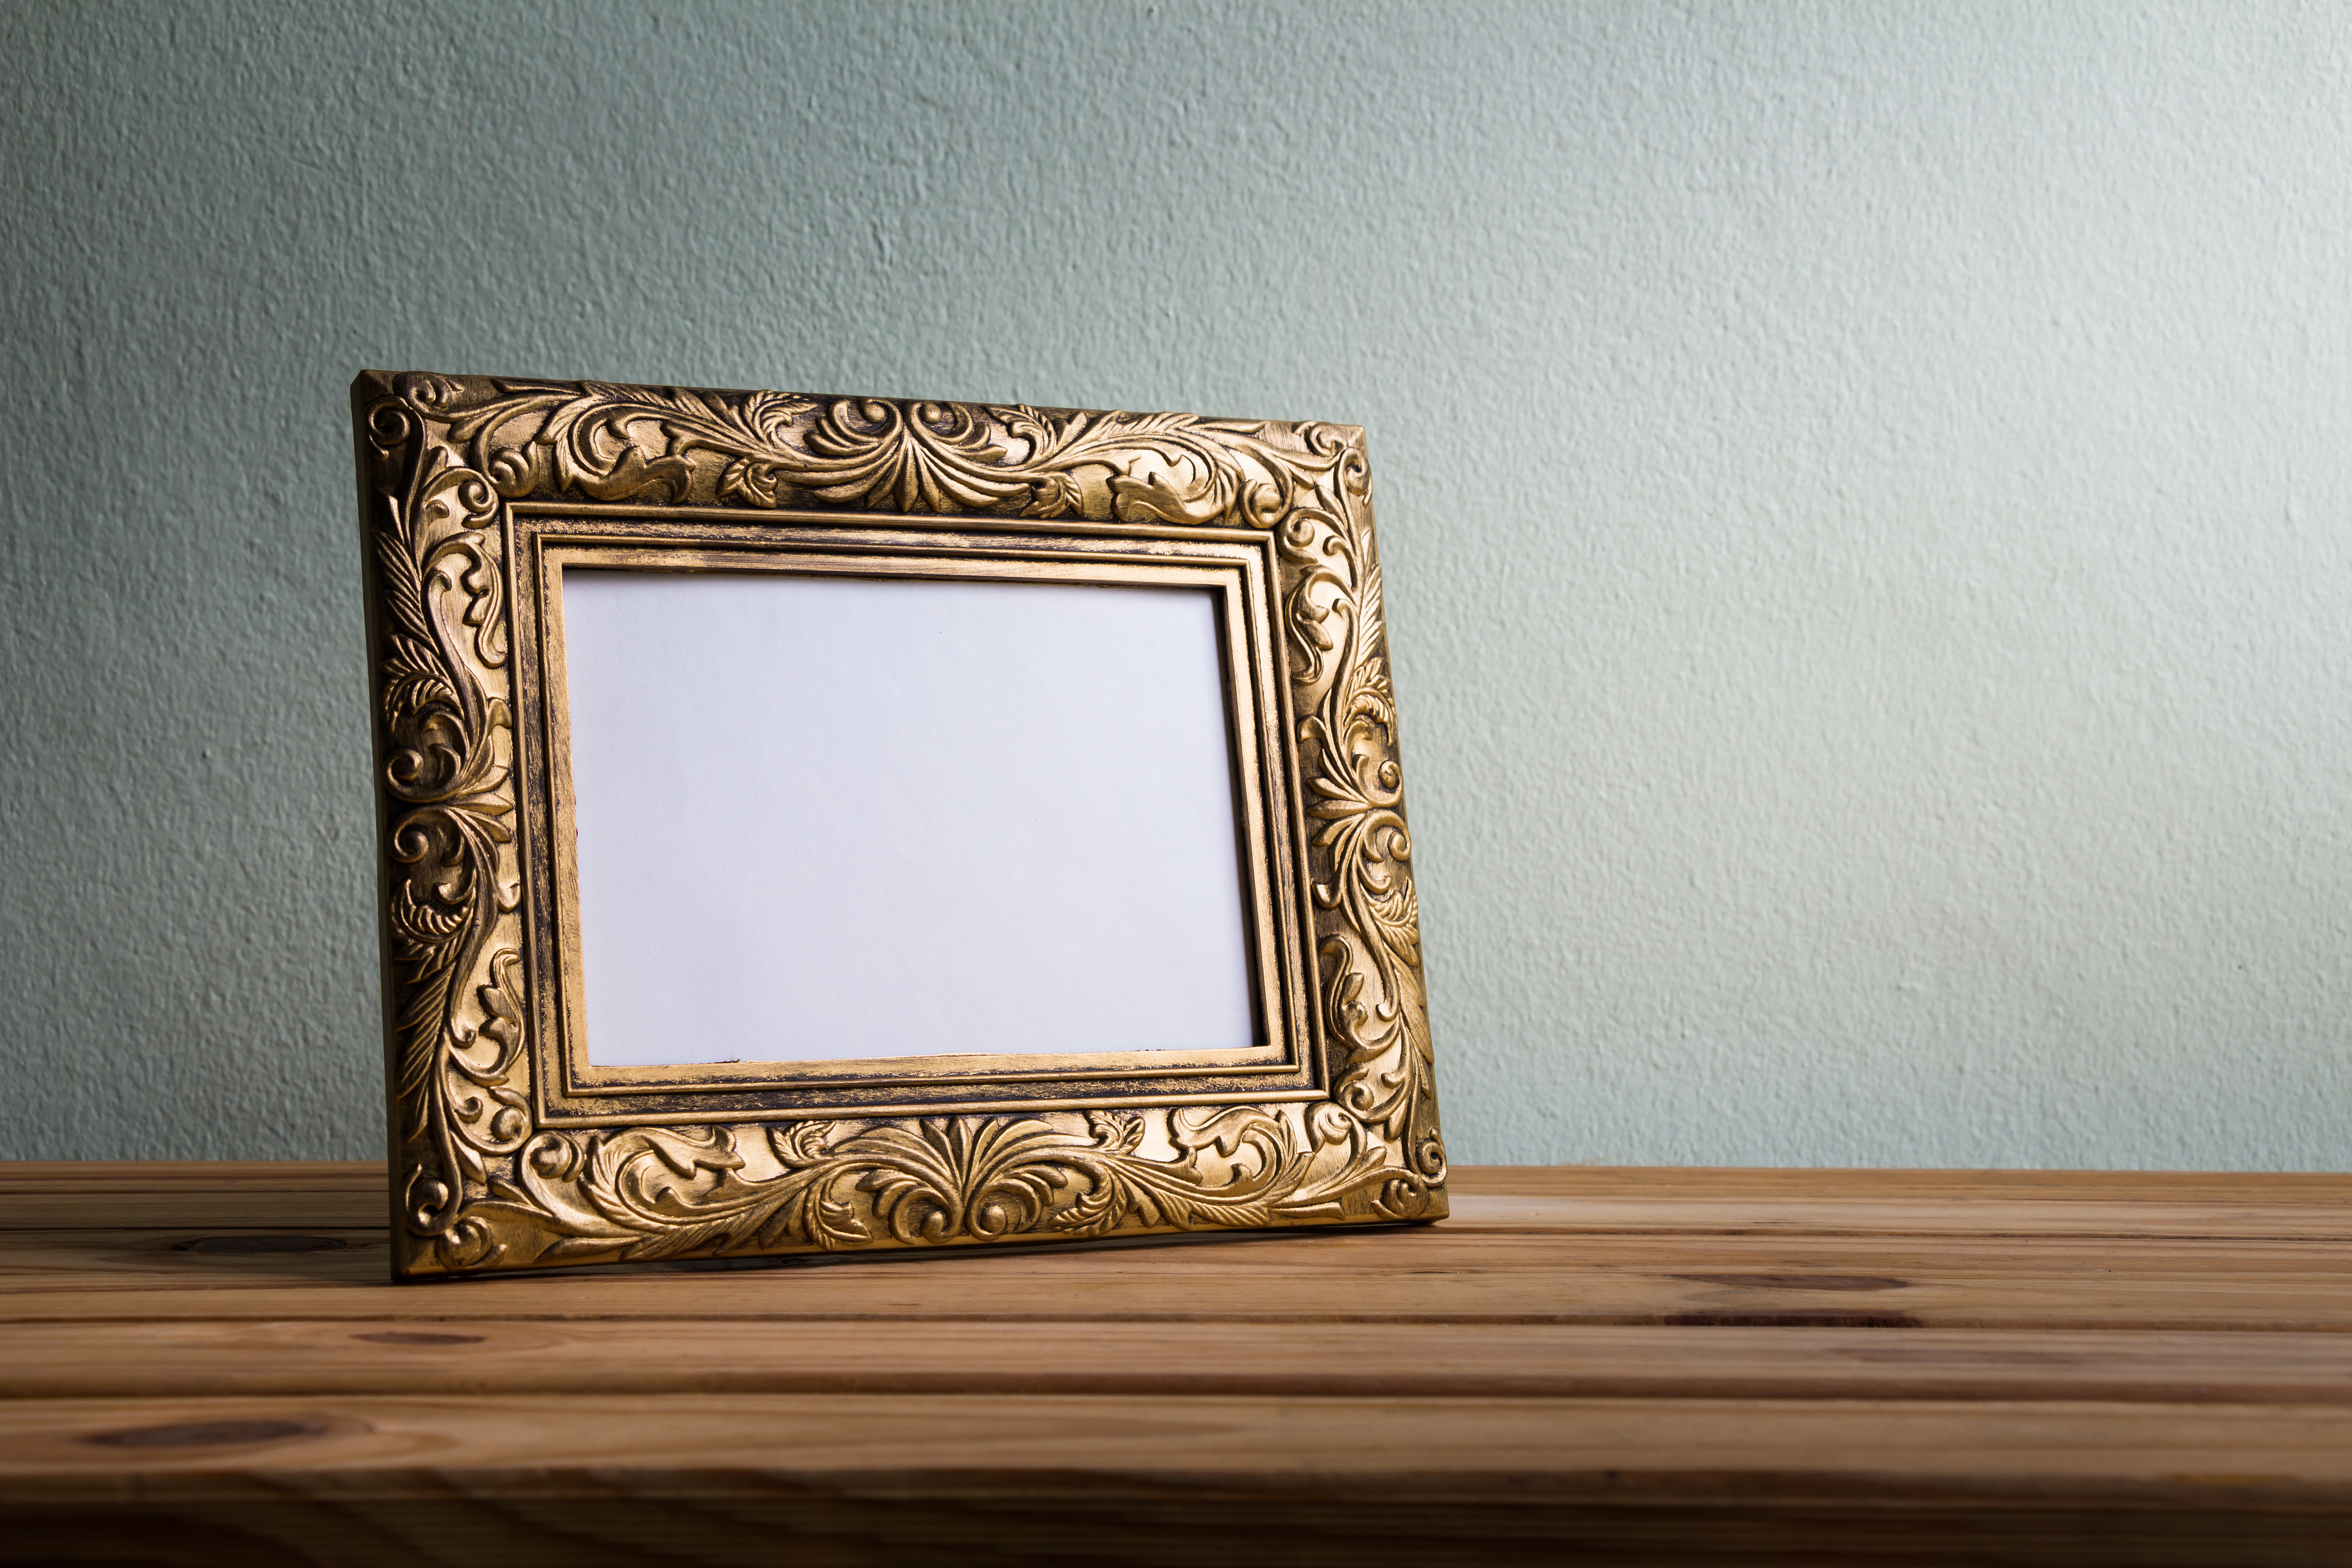
3. Get A White or Dark Surface Ready
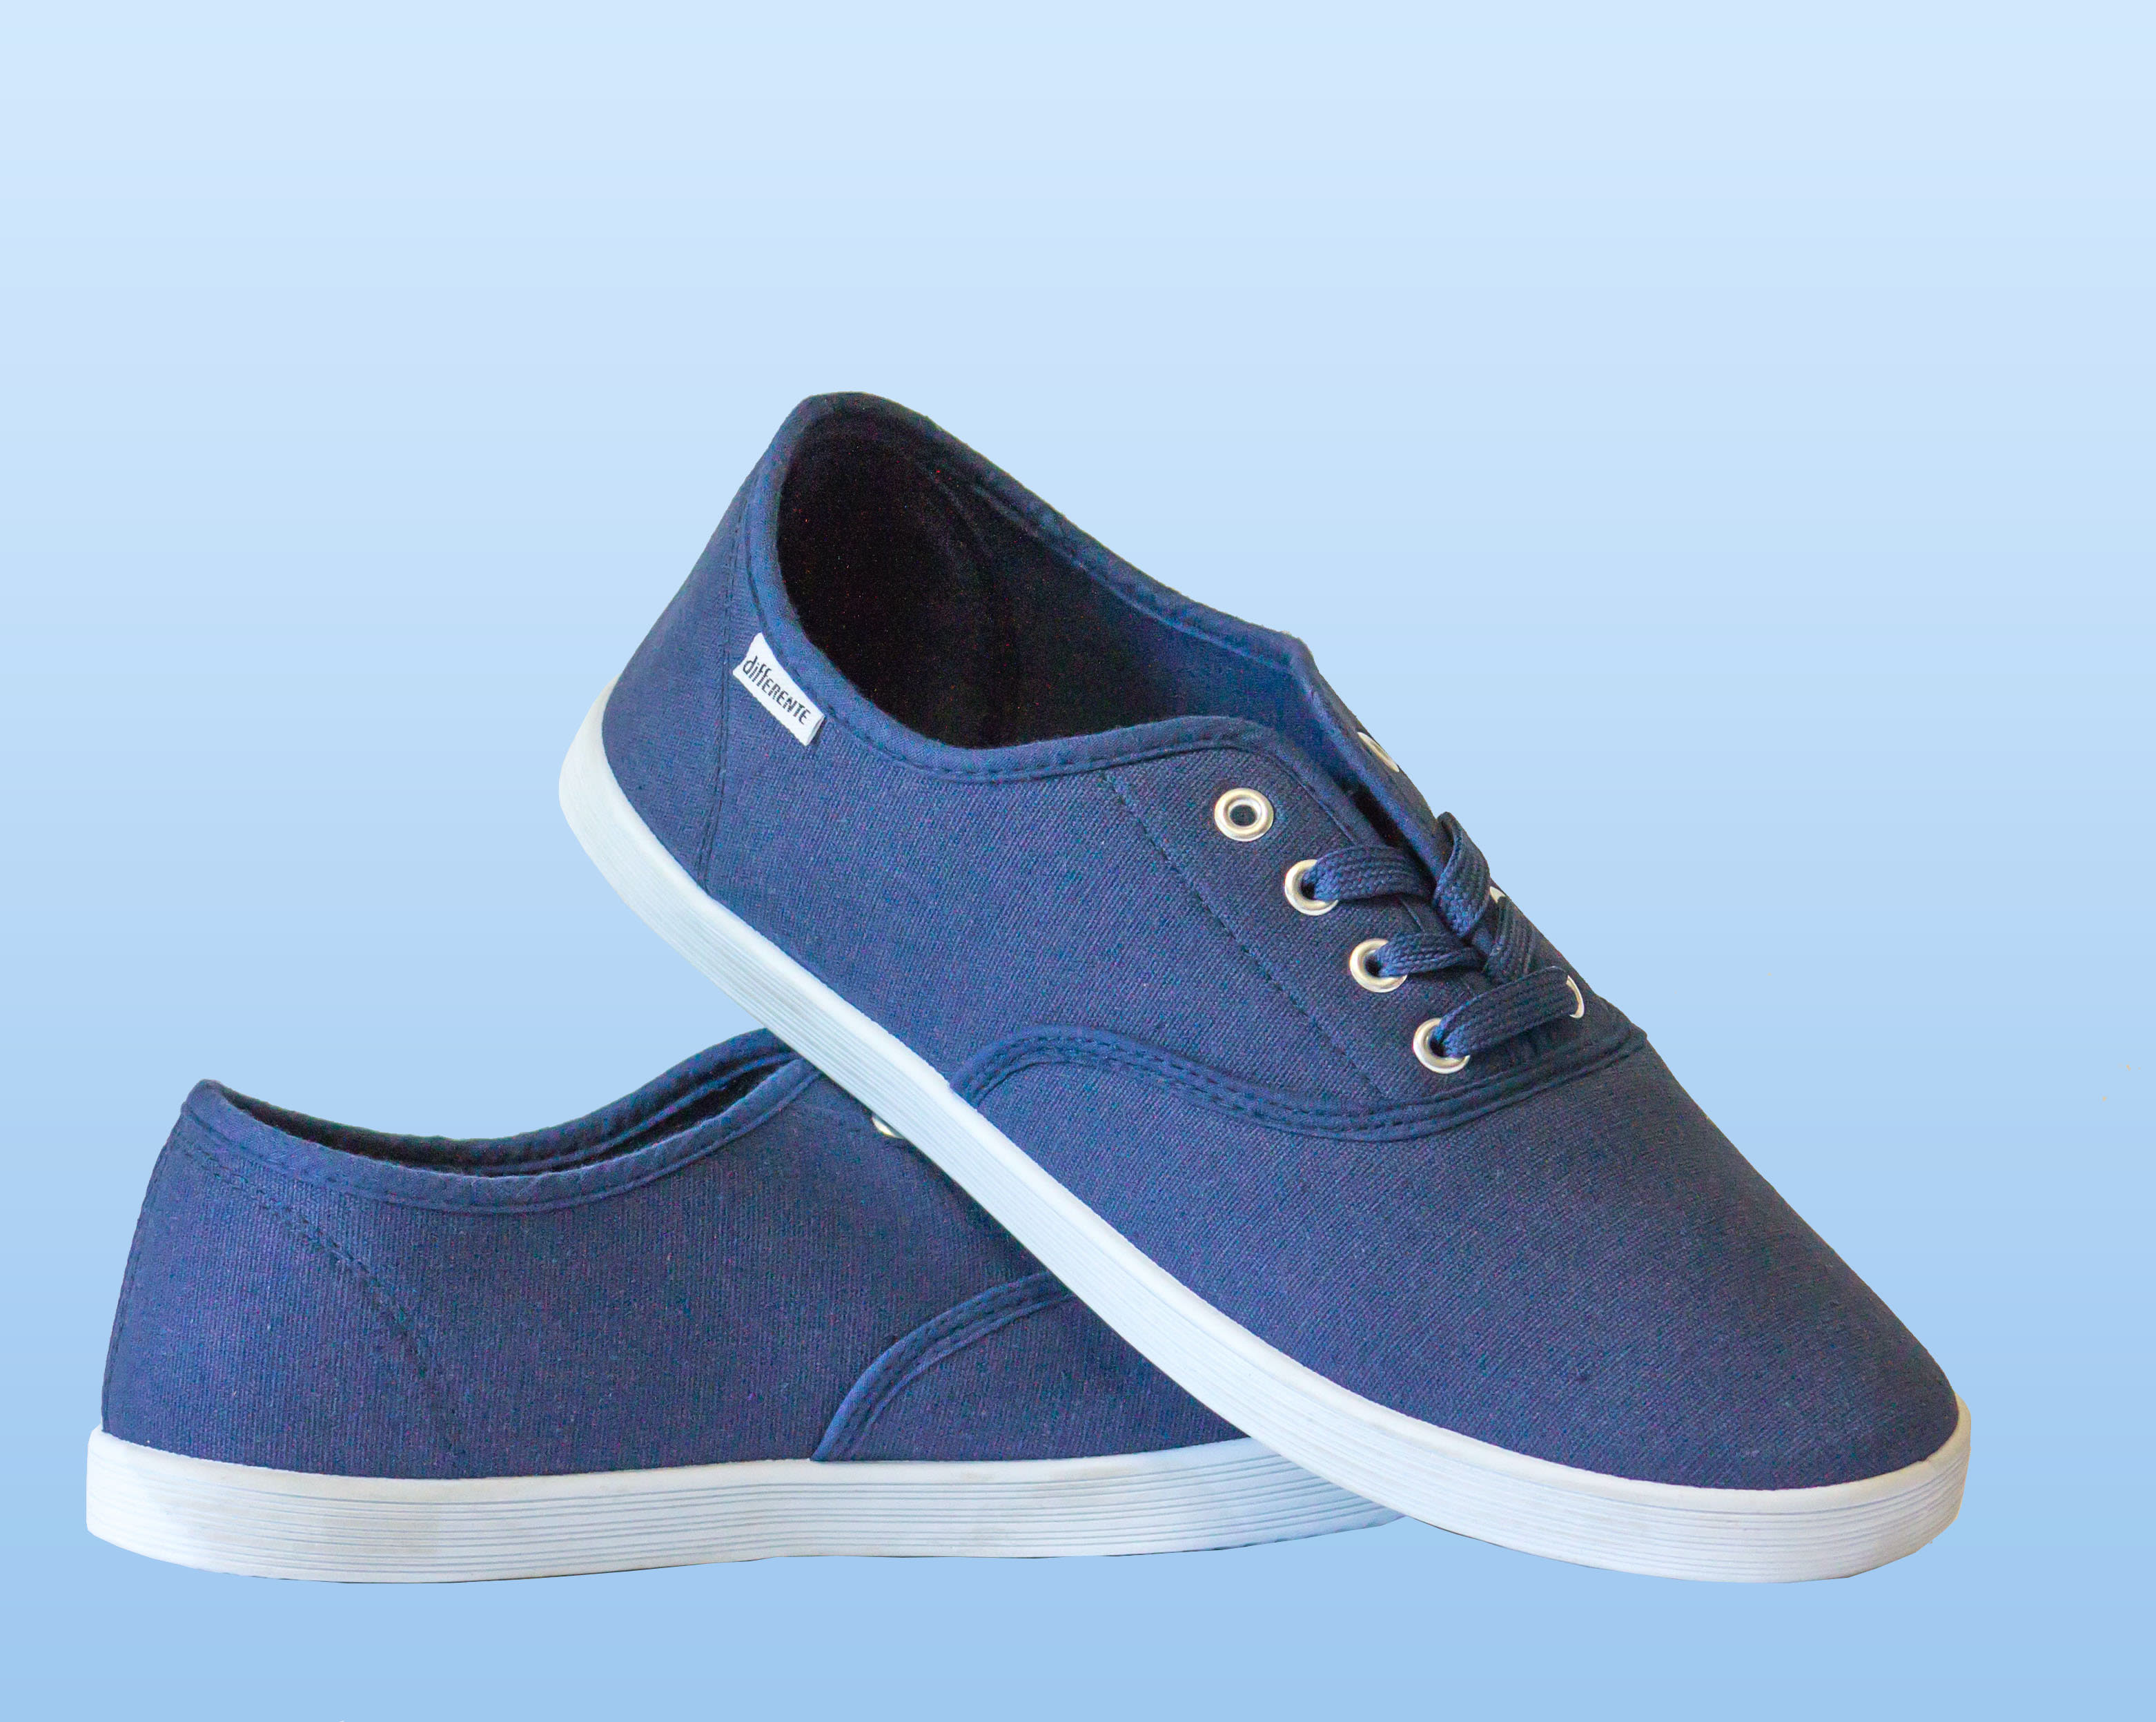
This can be as simple as a white piece of paper – but for any product photo, you’ll usually want a background that doesn’t interact with the colours of whatever you’re taking a picture of, and that usually means using a white or dark background behind it.
Let’s be clear, though: this doesn’t need to be any more complicated than a white sheet of paper. If you really want to go all out with lightboxes, you can, but for shooting on the cheap, a white paper background on a surface near a window and some natural light is going to get you 95% to where you want.
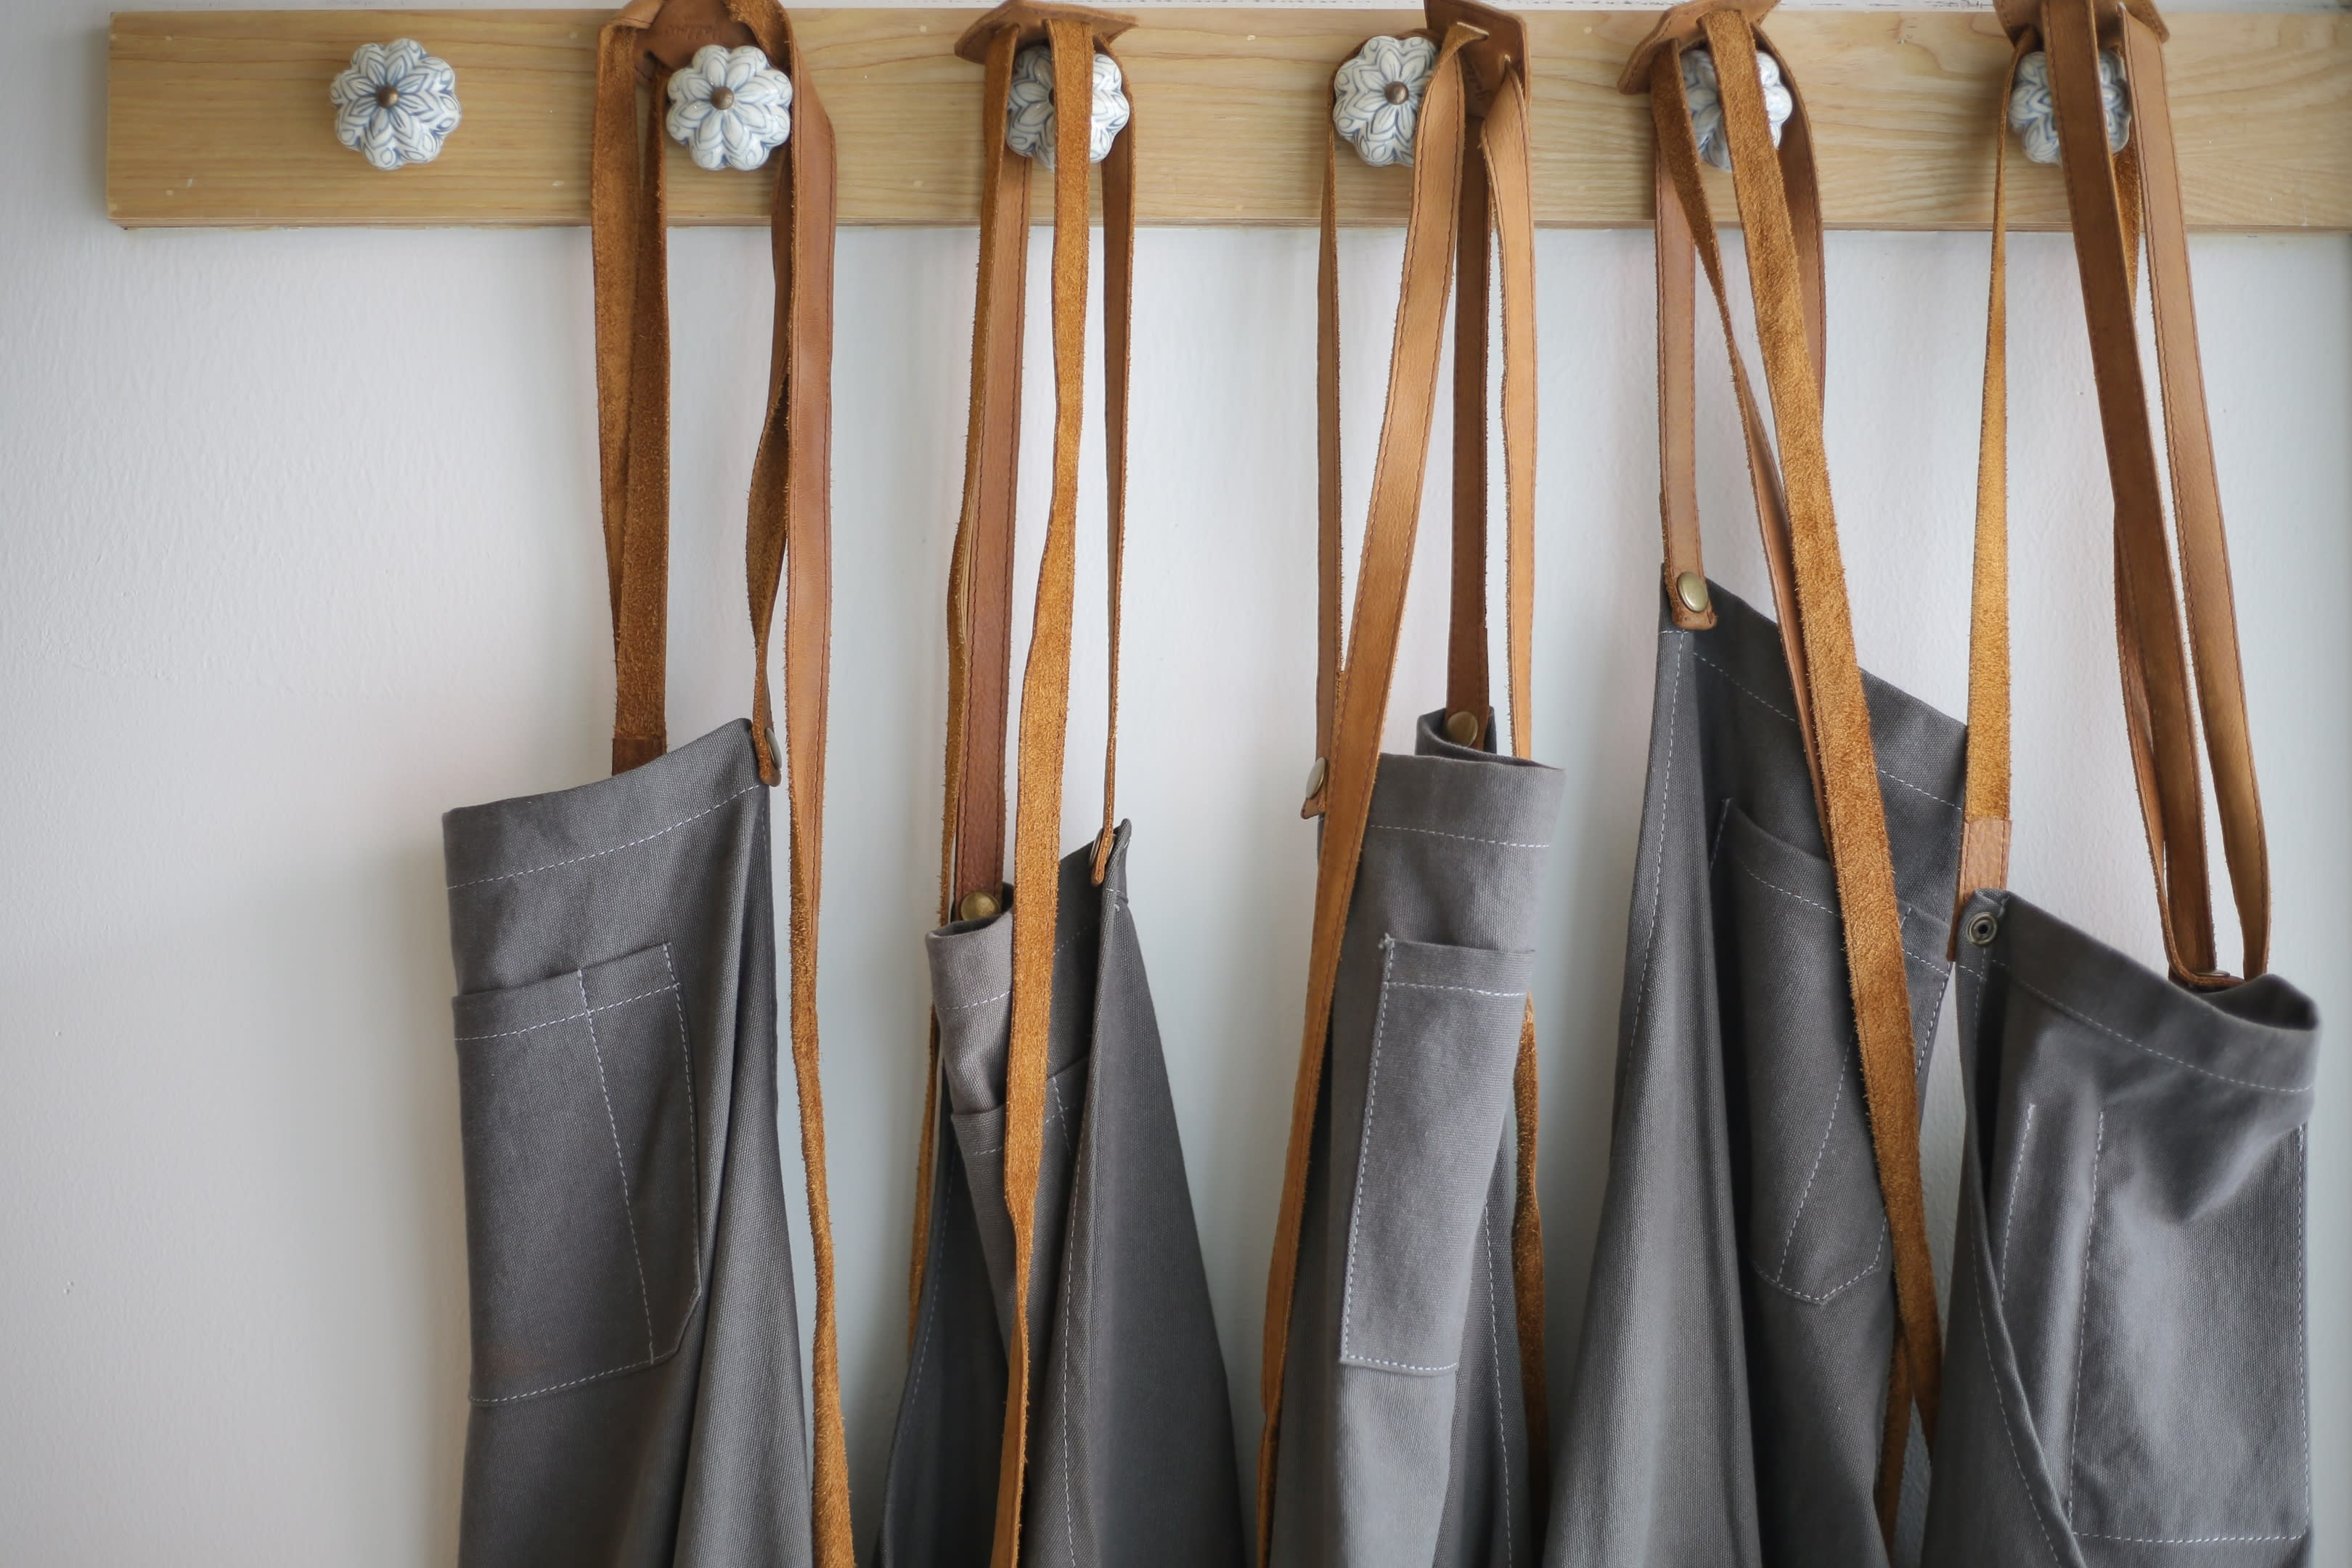
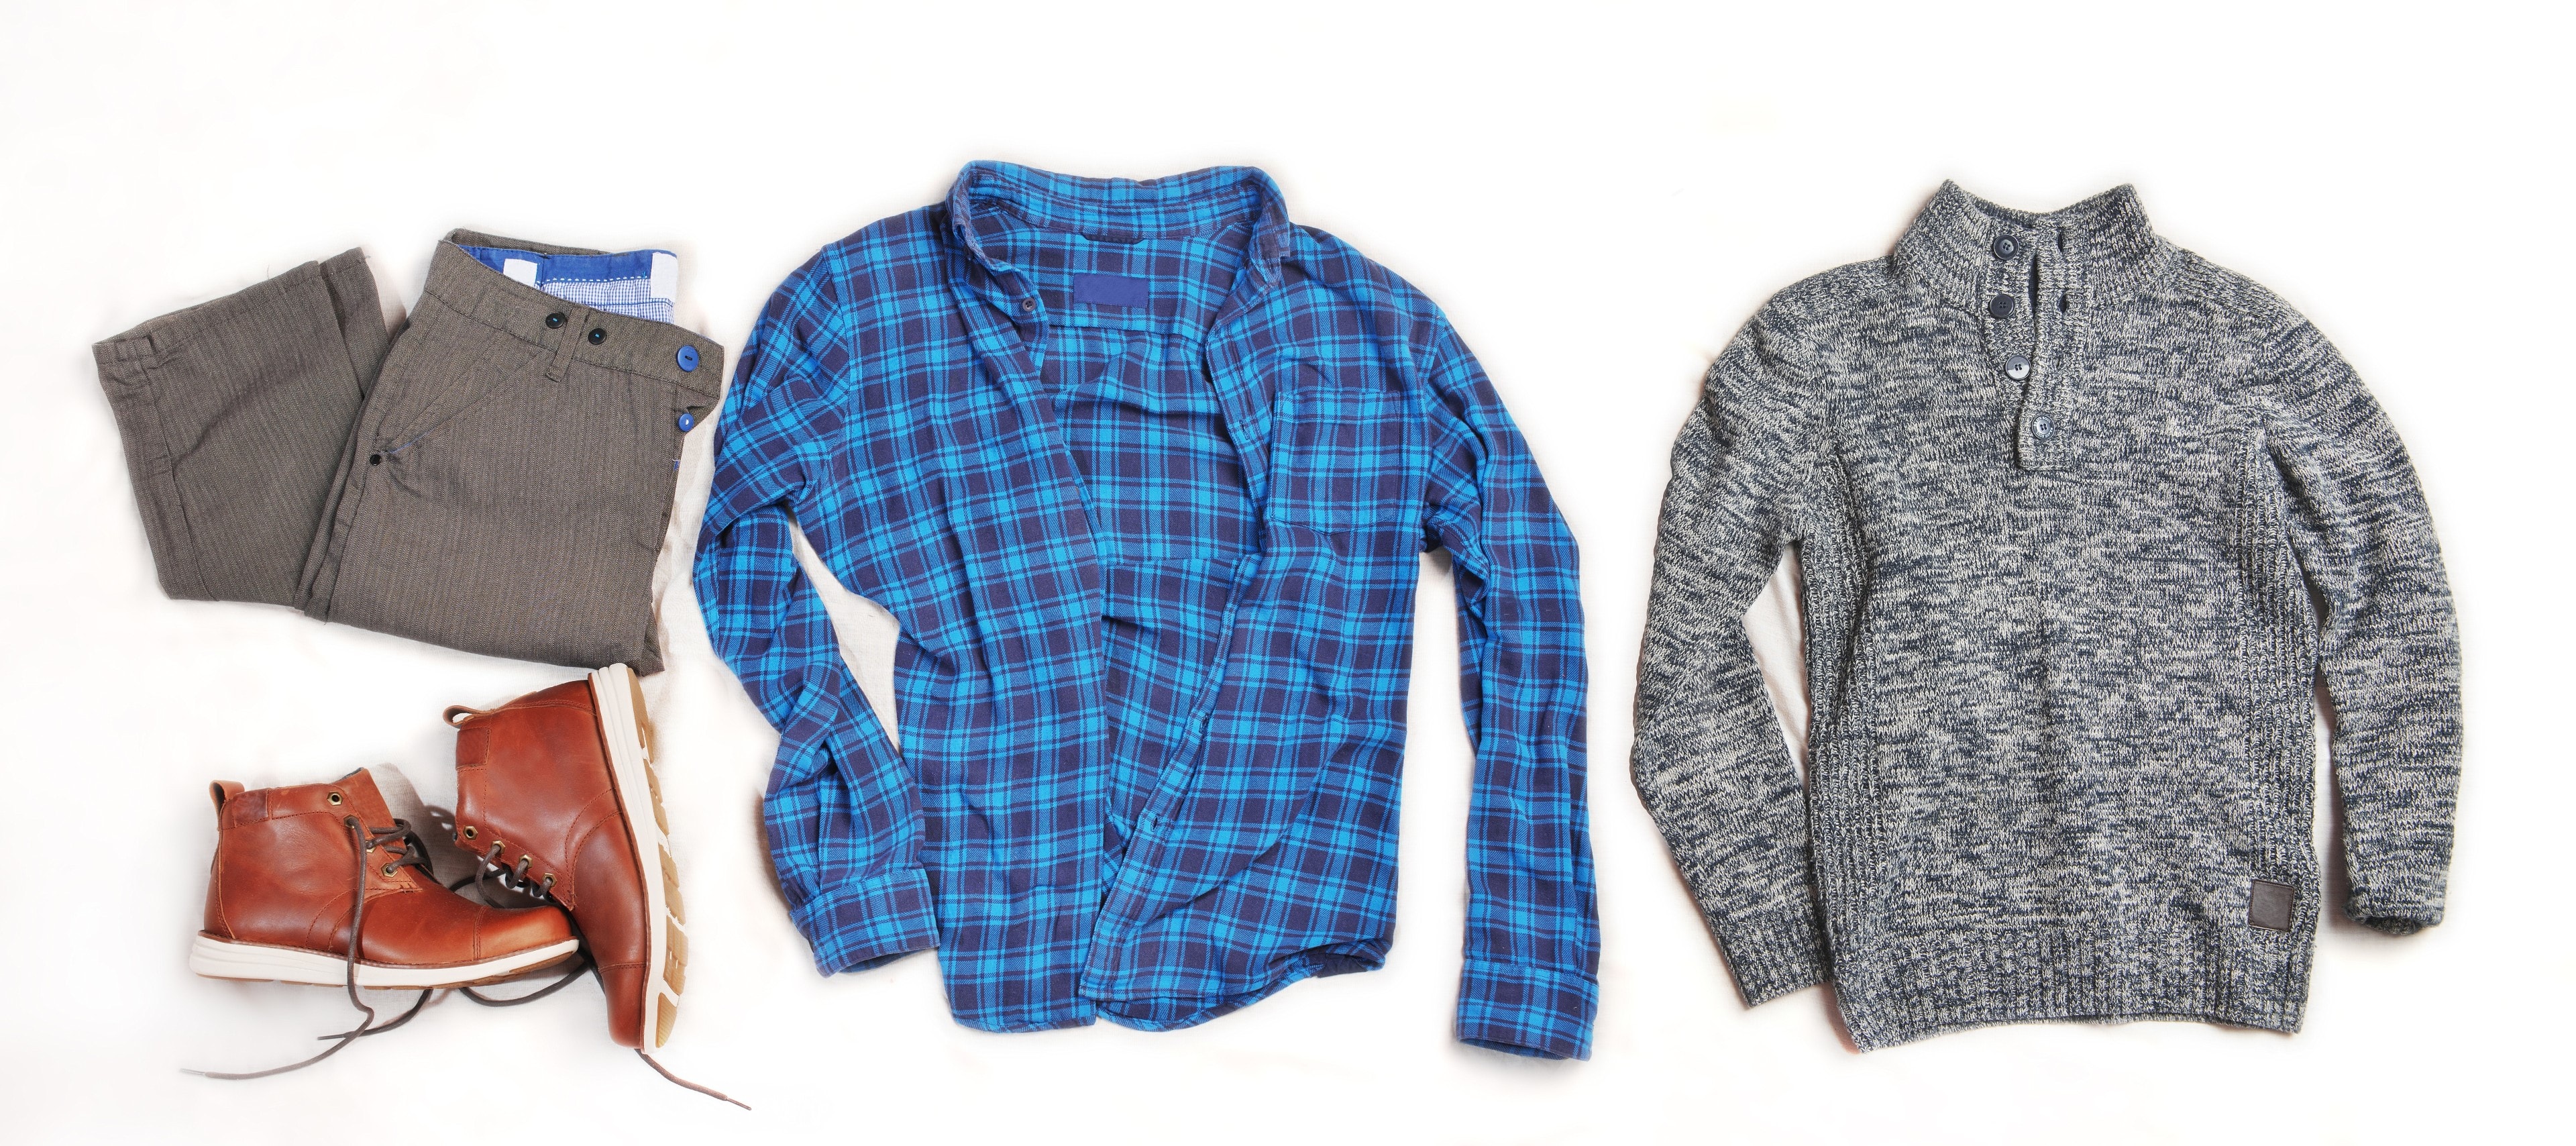
It’s important to keep in mind that your phone’s camera is going to pick up textures or inconsistencies in your background, which is why you can’t simply stick your products up against a white or dark wall and call it a day. However, if you take a look at the image above, you’ll notice that this can sometimes work to your advantage, particularly if you want to create a “lifestyle” vibe with your images.
4. Take Photos from Multiple Angles
As a great philosopher once said, “more cannot be less. More is more.” The same is true for product photos: people can’t get enough! Even if you don’t end up using all of your photos in your product listing, you’re always going to appreciate having too many photos to pick through than too few.
The specific angles are going to be determined by what you are photographing – for a piece of clothing like a pair of jeans, you’ll typically want to take photos of the front, the back, the side, and a photo of a person (or a mannequin) wearing the item for sale. The same goes for jewellery: at least one photo straight on, one photo at an angle, and what it looks like on a person. Put yourself in the shoes of someone who’s just found your shop. What would you like to see if you were going to buy one of your products? This will help you guide you when it comes to taking photos.
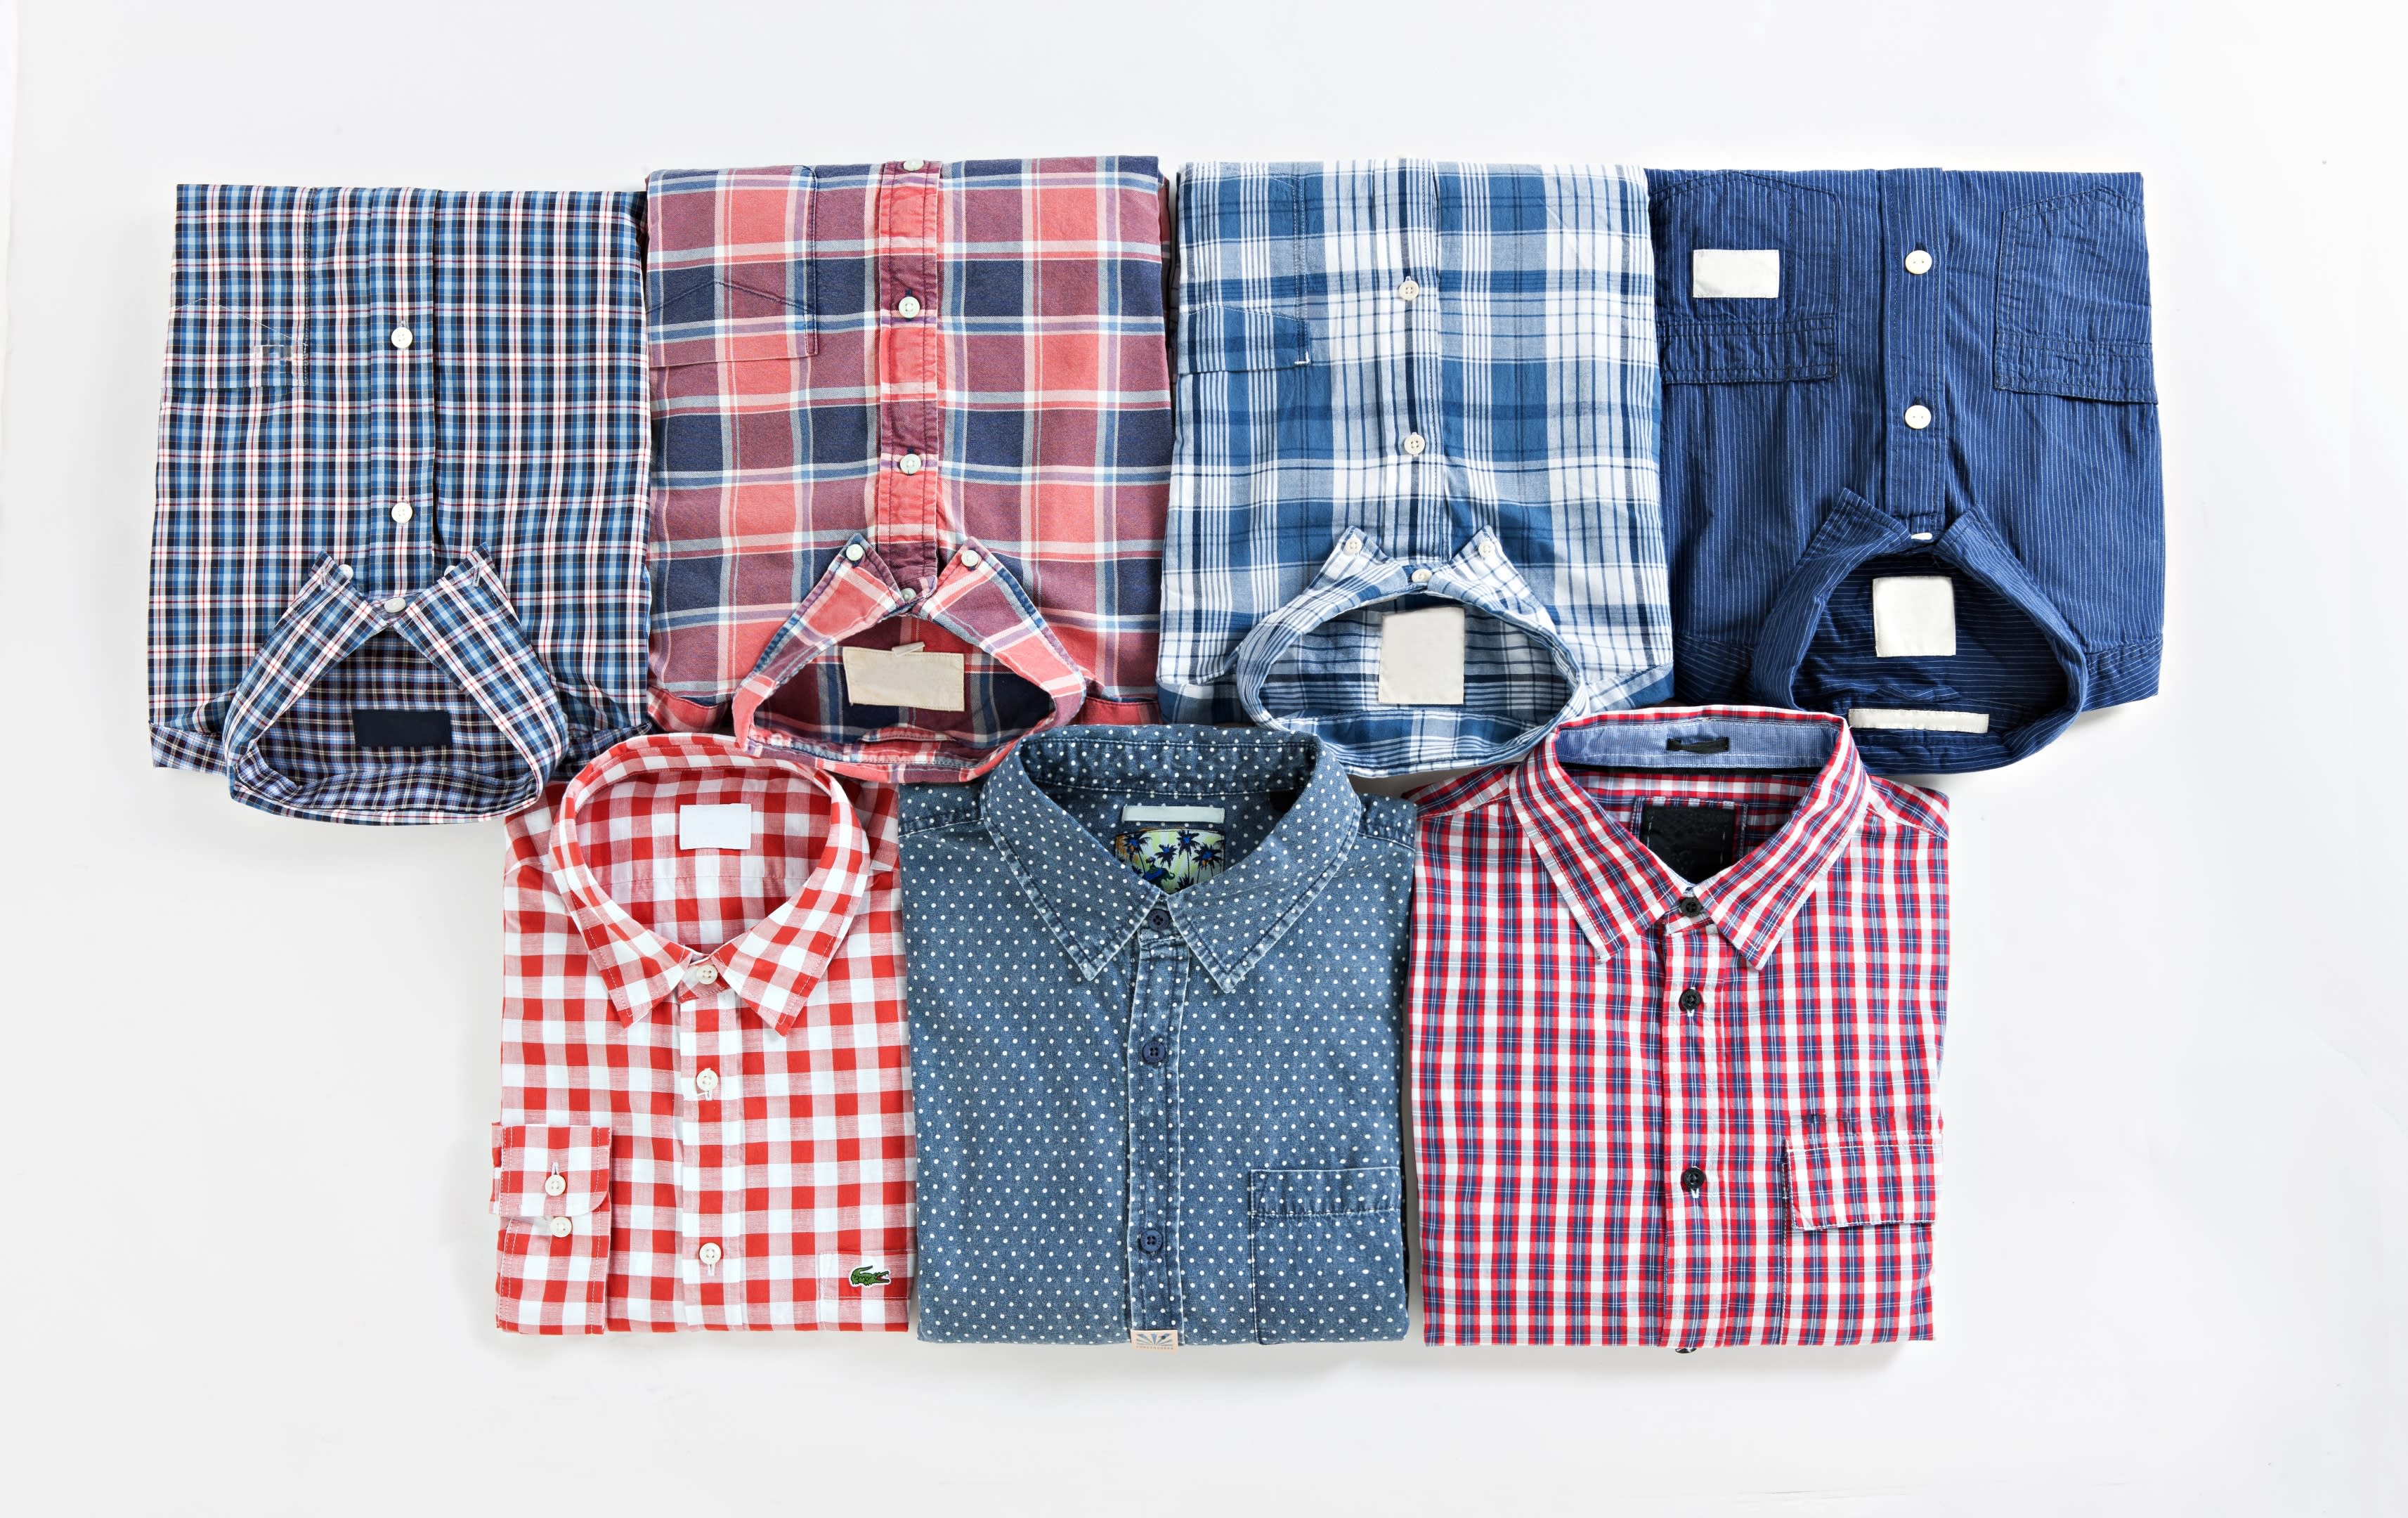
5. Group Your Products for Variety
Got a few products that work really well together? Take a photo of the set and show them off! Not only will this break up the stream of individual product photos on a white (or dark) background, but they can also encourage people browsing your page to add more than one product to their cart.
As a general rule of thumb, you’ll want a majority of your images to be product-only, but one or two lifestyle shots – showing off your product in the wild – one of these grouped shots can go a long way towards showing off your products’ versatility and give the customer a great idea of what they’re purchasing.
Some Apps To Help You Out
Having a good grounding in the basics will work wonders, but having a solid photo editor at your fingertips will allow you to give your photos just the right je ne sais quoi. While you can certainly spend quite a bit on photo editing software, here are some of our favourite freeware options. That’s right, you can get these on your phone or computer without spending a cent.
Photo Room Studio
For Apple and iOS users, it’s hard to beat Photo Room Studio when it comes to a useful, free, photo editing app.
From the company:
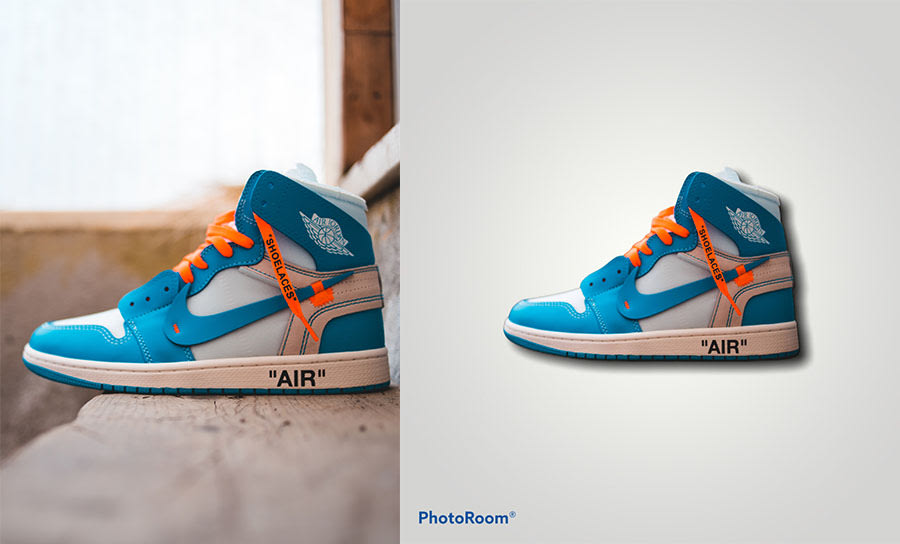
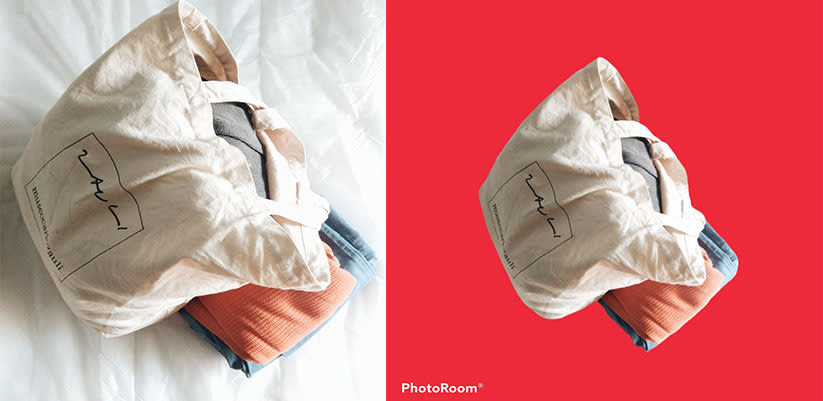
“PhotoRoom is an image editing app that lets you capture, edit, and mix images by editing objects. We use artificial intelligence to automatically cut out the background and overlay your subject over a gorgeous background.
You can also blur the background, erase it, or desaturate it for a color splash of the subject”.
If you’ve got an iPhone or a Mac, give Photo Room Studio a look.
Adobe Photoshop Express
Photoshop is such a staple in the image-editing industry that, like “a Coke” or “a Kleenex”, it’s become a household name. You may already know the full-featured version of Photoshop is quite expensive. What you may not know is that their specialised for mobile phone offering, Photoshop Express, is absolutely free.
With integrations that support images from your hard drive, plus Dropbox, Facebook, and Google Photos, Photoshop Express will work with whatever you’re already using to store your images. Plus, it’s pretty intuitive to use – not something you can always say about the fully-featured version.
Fotor
If you’re the kind of person who likes to use their computer for photo editing, you’ll get a great deal of mileage out of Fotor, a browser-based image editor that allows you to retouch, add effects, and otherwise edit your images until they’re absolutely perfect.
It works on Android, iPhone, and in your browser, so no matter how you choose to work, Fotor can be there for you. The free version of the product will allow you to edit and save your work just fine (although the free version does have an image size limit of 2000×2000 pixels and the odd advertisement).
As far as browser-based image editors go, it’s hard to deny that Fotor is really handy for people who don’t mind working on their computers.
Wrapping up!
So there you have it! Five easy tips to level up your product photography. As your business progresses, you may want to invest in more equipment or a paid photographer for your products, but for businesses on a budget or those just starting out, these steps can make a big difference between growing your shop and struggling out the gate.
One quick note on dimensions:
For thumbnails, you will want your images to be at least 150-200 pixels wide, while for proper expanded photos a width of 1600 is preferred. And make sure to use landscape images (wider than they are tall) whenever possible!