
One of the most exciting features we rolled out for our Plus and Reputation Customers this year was the ability to sync their products with Facebook, Google, and Instagram.
When done correctly, this allows your products to appear on these platforms and lead users directly back to your website – when it comes to Facebook, this means that you can seamlessly integrate your products with the Facebook Marketplace, which can increase your conversion rate.
For a video of the whole process, have a look below:
What Do I Need To Start?
First off, before you sync your products with Facebook, you’ll need to make sure your products have prices, images, and the ‘show payment button’ active.
Not sure if yours qualify? Take a look at our guide on how to get the most out of your products, this will help you set yourself up for success.
Once you’re confident that your products are listed exactly as you would like them to be, you’re ready to start syncing your Products with Facebook.
Ideally you will want to be on a desktop or laptop computer when you do this, rather than your phone.
How Do I Sync My UENI Products With Facebook
- Head to the Editor
- Click on Settings
- Then click on Shopping Cart
- Then click on Product Sync
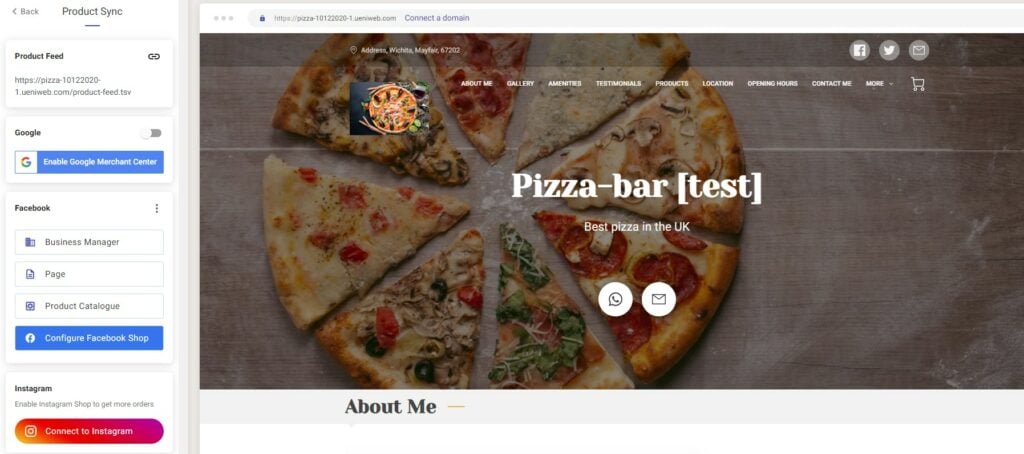
Once you click on Product Sync, you should be on a screen that looks like this one:
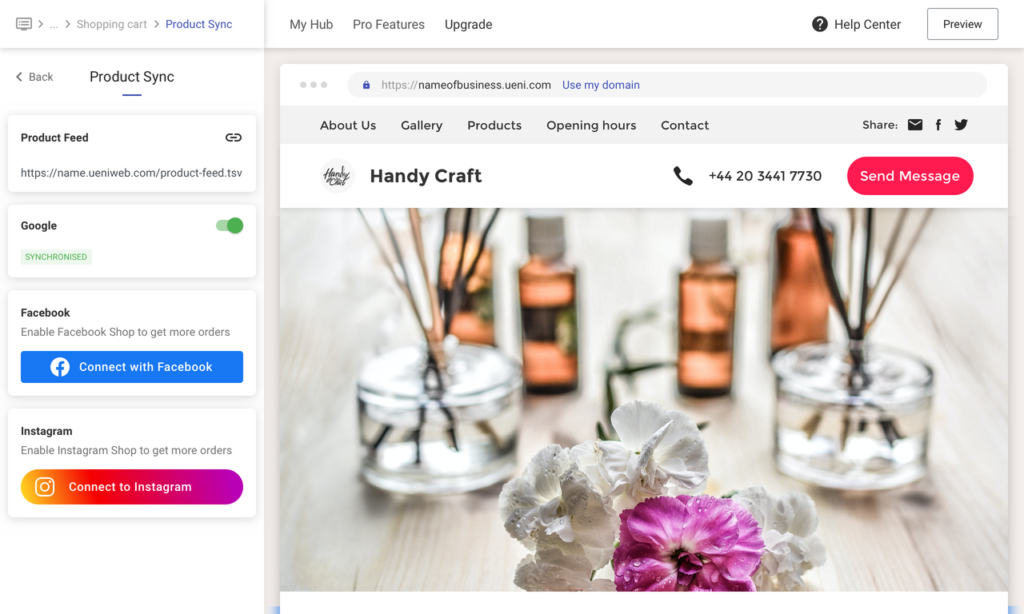
You will want to click the blue Connect With Facebook button to proceed. Once you click that button, you’ll see a pop-up asking if you want to continue. Like this:
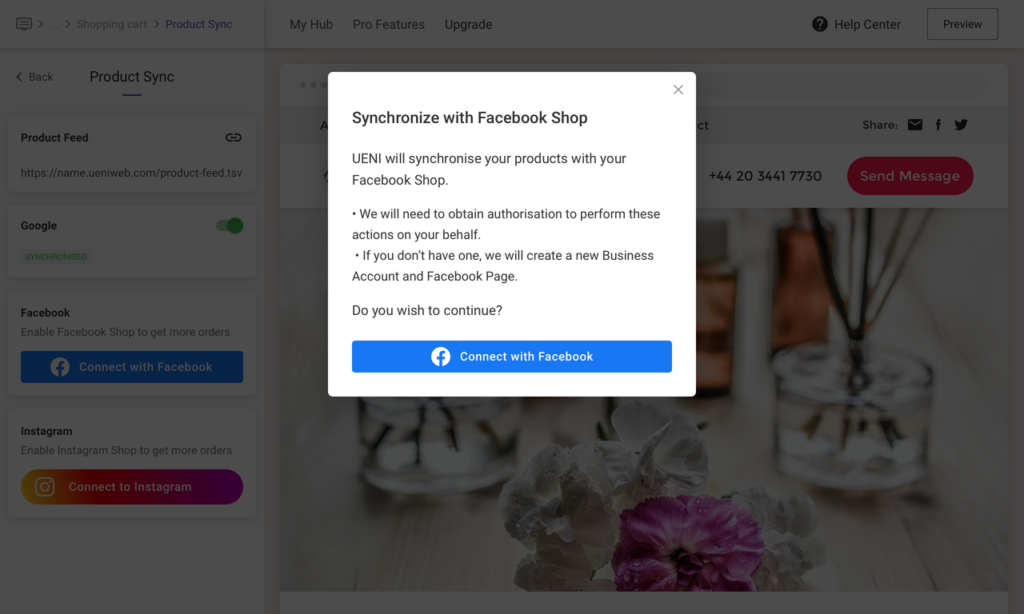
Click Connect with Facebook to continue
After you click Connect with Facebook, you will be taken to Facebook and asked if you want to authorise UENI to access your account.
This happens in two steps – in essence, Facebook is making sure that this is you, and that you want to sync your business to a Facebook Business Account.
You will see two screens here: the first one, on the left in the image below, will ask you to log in. The one on the right will ask you if you want to authorise UENI to work on your page.
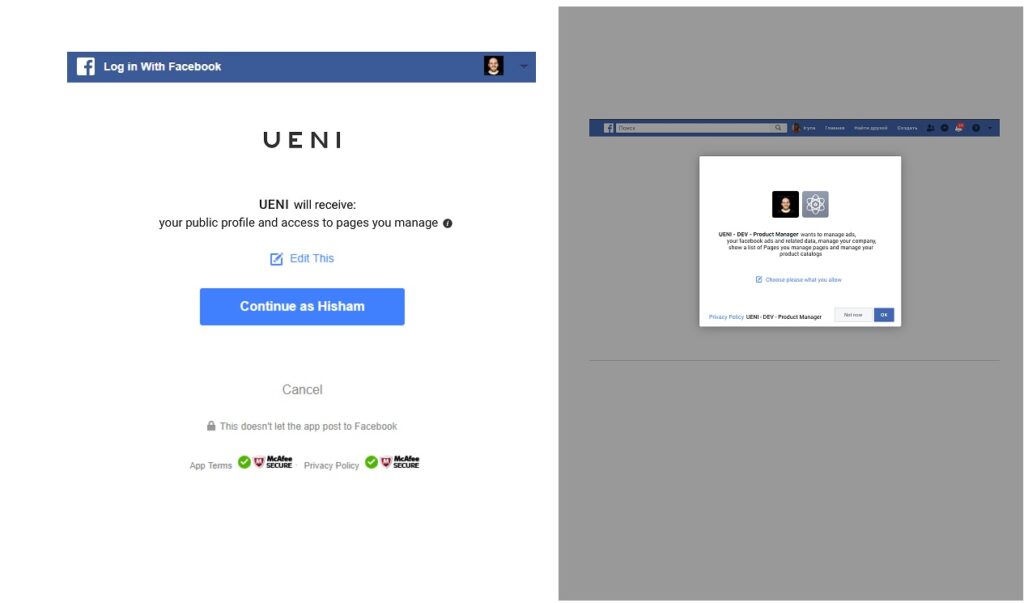
Click Continue and then OK to proceed.
After this step, there are two paths you can take depending on whether or not you have a Facebook Business Account set up already.
You Do Not Have A Facebook Business Account
If you do not have a Facebook Business Account, you can create one through the UENI Editor:
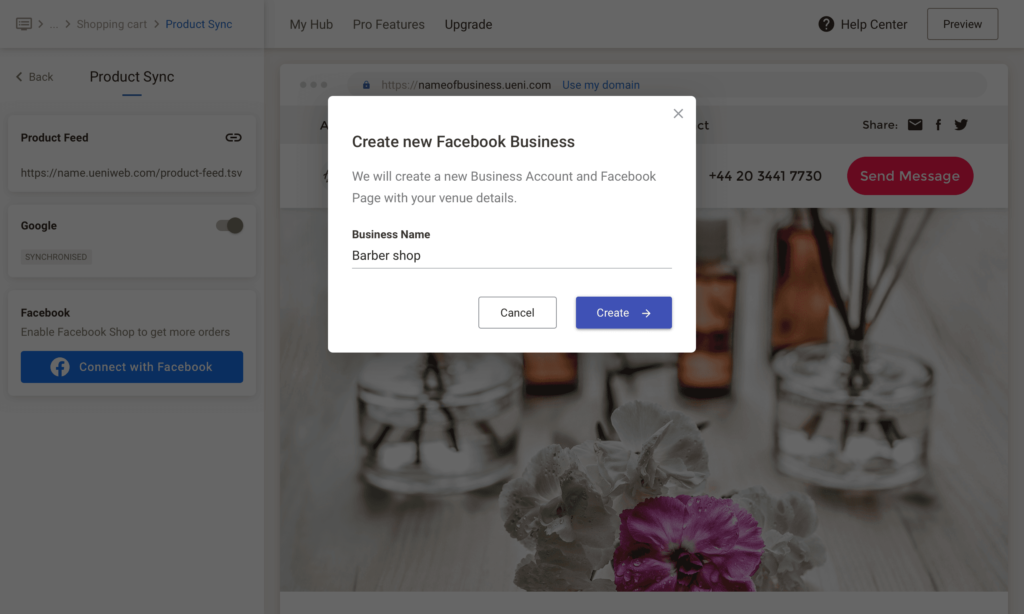
Please note that we will use all of the business information from your website to do this for you, so make sure all your details are correct!
You Do Have A Facebook Business Account
If you do have a Facebook Business Account, you will be able to select it like so:
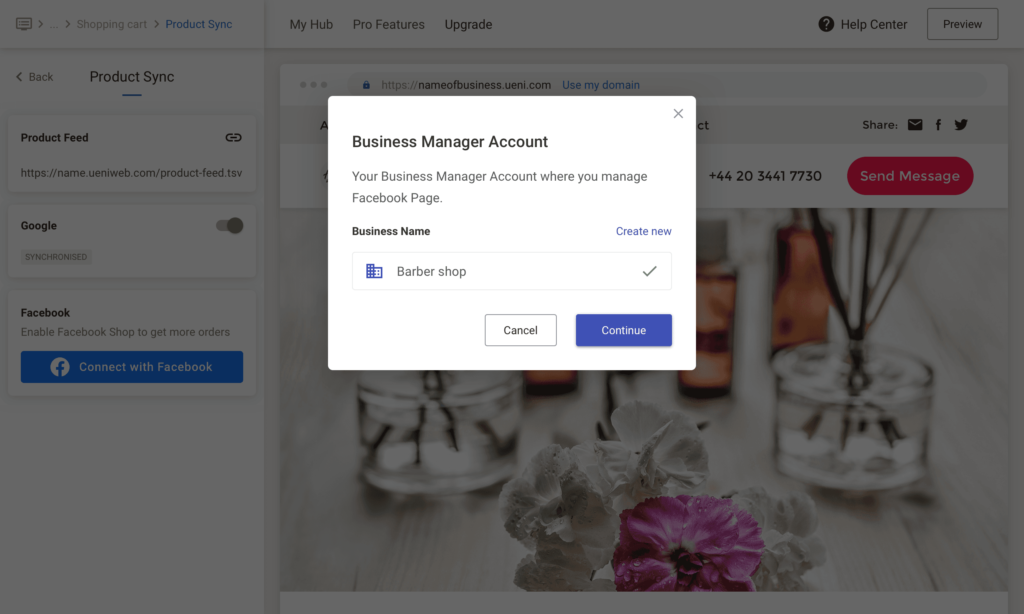
Once you have your Business Account sorted, you’ll need to create or select the Facebook Page for your Business:
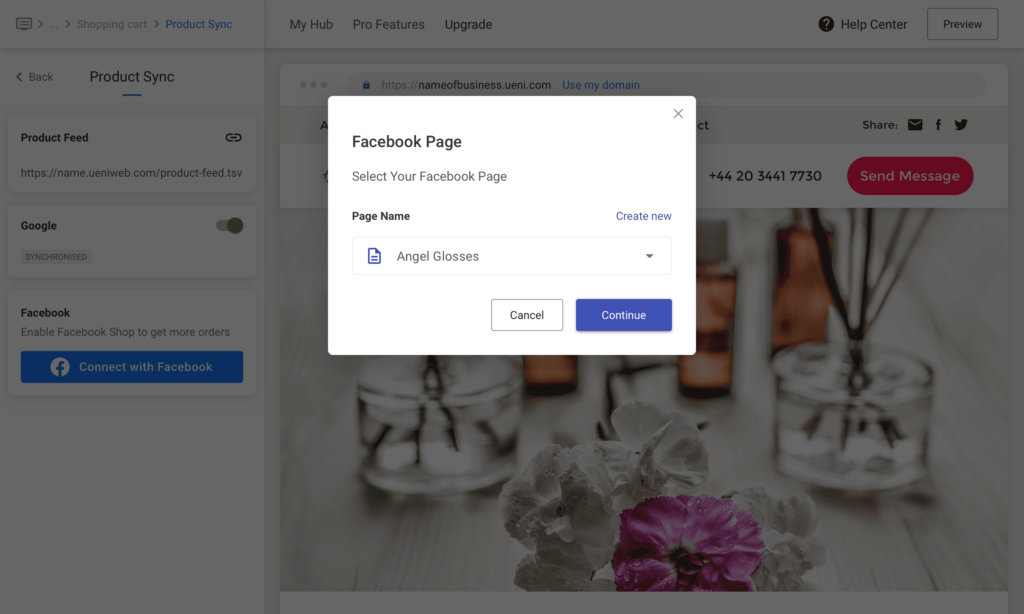
If you have more than one Facebook page, select the relevant one, and click Continue.
If you don’t have one yet, you can create one by selecting Create New on this screen:
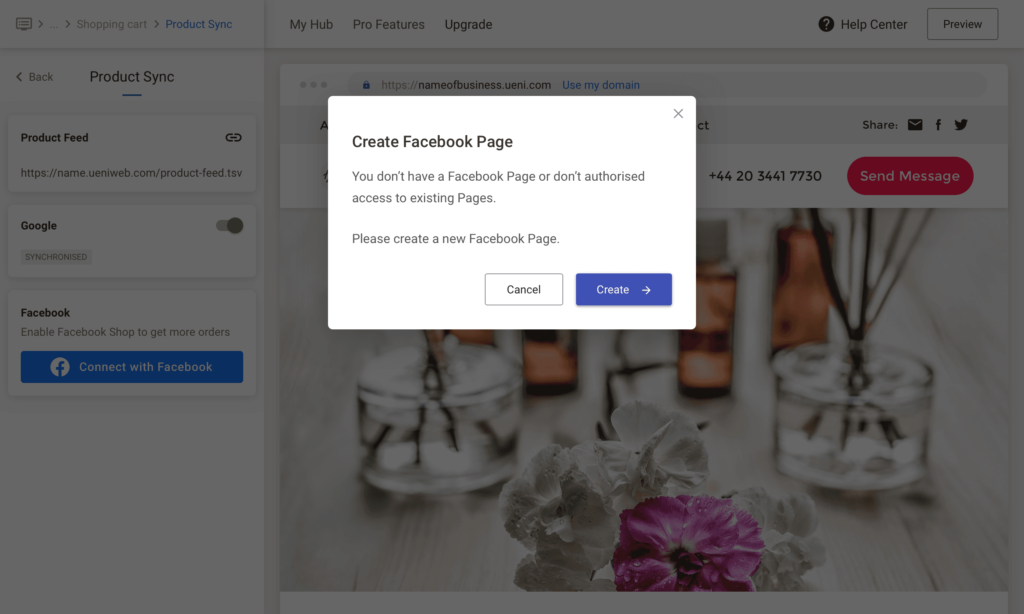
Once you click Create, you’ll be brought to a Facebook Page Creation Screen that will look like this:
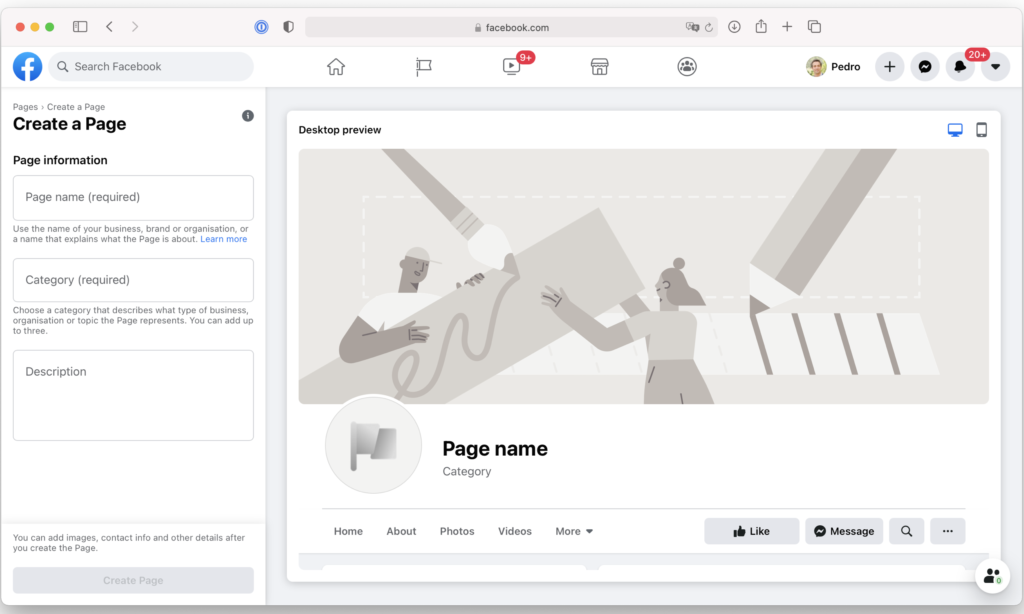
Once you finish that page, click Create Page and you will be returned to the UENI screen. Once you’ve finished that, and the sync is under way, you should see this screen:

You’re all set! Please allow a few minutes for Facebook to verify your Shop.
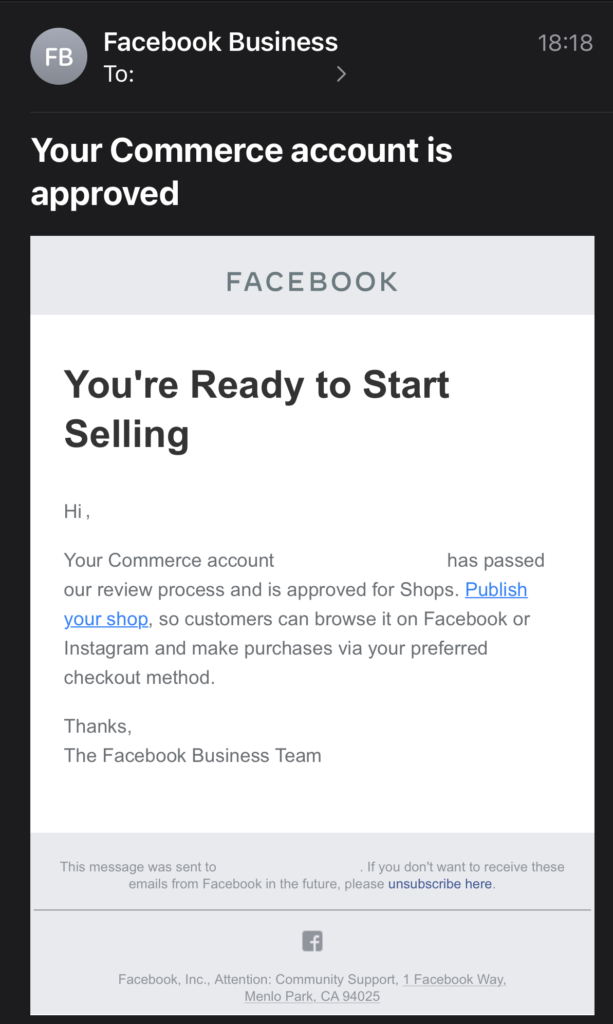
When your Shop is approved, you’ll get an email from Facebook that will look something like this:
What Do I Need To Do After Verification?
Congratulations! Once your shop has been verified, you’re very nearly ready to get going.
In order to have your products published and available to buy on Facebook, you will need to create a Facebook Shop. Don’t know how to do it? We’ve got you covered! Have a look at this article explaining how to set up your Facebook Shop through UENI.
After this, it’s smooth sailing. We promise.
Something Went Wrong
We have seen some situations where the sync process will fail. While we try our best to solve these issues, we have seen that there are sometimes failures in two areas:
- You tried to enable Facebook Sync, but UENI cannot sync with Facebook because of problems with the business creation.
- You tried to enable Facebook Sync, but UENI cannot sync with Facebook because of problems with the page configuration.
In both of these cases, going back to the beginning and pushing Connect With Facebook usually fixes this issue. We apologise for any inconvenience, and we hope you never have to read this section.
Why Don’t I See My Changes?
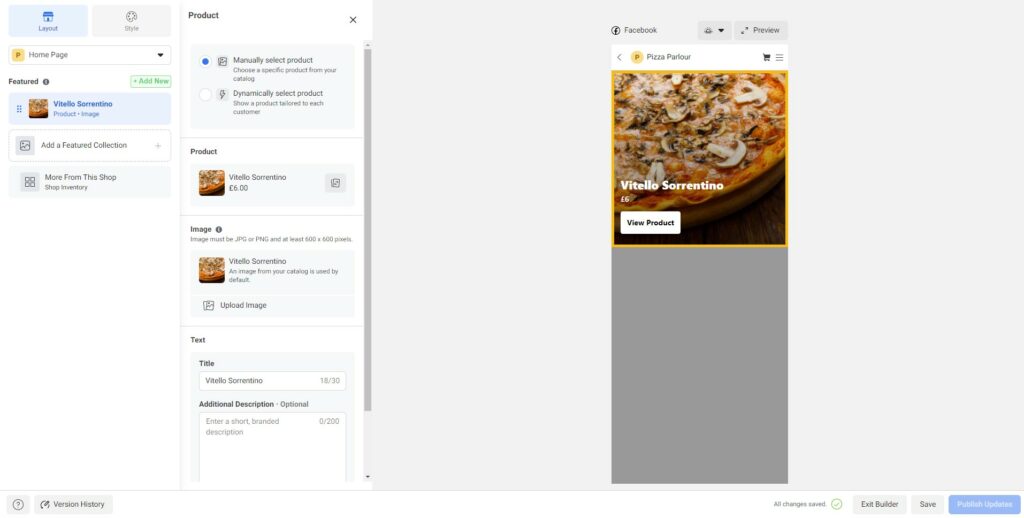
Once your Facebook Shop is connected, you can make changes via: the Configure Facebook Shop:
When you click that, you will be brought to Facebook’s Commerce interface and can customise your shop. When you’re finished customising it, save your changes by clicking Publish Now (the blue button in the bottom right corner)
Sometimes you can click Publish Now after setting up your site in the Configuration Menu and you don’t see any changed. The Button may even be greyed out. This is what can happen if you try to edit the page while it is still under review from Facebook.
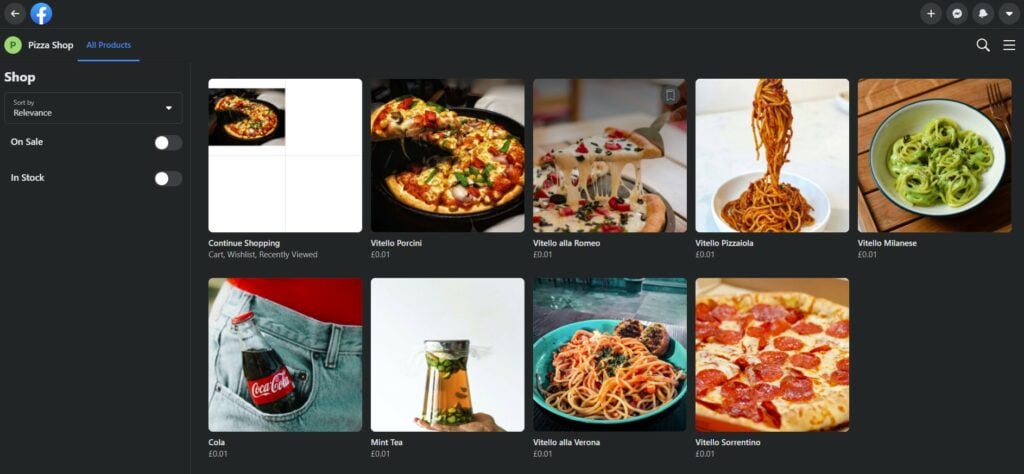
Once you get the approval email from Facebook, you will see that all of your products are in place, dynamically loaded from the Catalog you selected, like so:
So, if you get to the end and nothing looks like it’s happening, don’t worry. Your shop might still be under review.